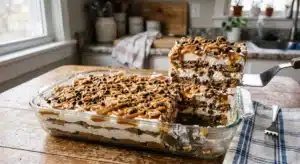
Making rich, chocolaty, and generously loaded rocky road fudge at home does not require a candy thermometer, a stovetop double boiler, or hours of complicated prep work. With just four classic pantry ingredients, a microwave-safe bowl, and an 8-by-8-inch baking pan, you can put together a batch of smooth, creamy chocolate fudge packed with soft mini marshmallows and crunchy peanuts in just a few minutes of active kitchen time.
Whether you are preparing a quick dessert plate for guests, filling up a holiday treat platter, or craving a homemade chocolate square alongside a cold glass of milk, this streamlined microwave method delivers bakery-style results with effortless cleanup. Every bite offers a balanced contrast of textures: a velvety milk chocolate and sweetened condensed milk base, pillowy pockets of marshmallow, and nutty crunch scattered evenly from edge to edge.
Why This Microwave Rocky Road Fudge Recipe Works
Traditional fudge recipes often intimidate home bakers because they rely on boiling sugar syrups to precise temperatures and beating the mixture at just the right moment to prevent graininess. This shortcut method bypasses the stovetop altogether by combining milk chocolate chips with sweetened condensed milk in a single glass mixing bowl.
- Four Simple Ingredients: The entire recipe relies strictly on milk chocolate chips, sweetened condensed milk, mini marshmallows, and peanuts.
- One-Minute Microwave Melting: Heating the chocolate chips and condensed milk together in the microwave for just 1 minute warms the mixture gently enough that vigorous stirring brings it together into a glossy, uniform fudge base.
- Foolproof Set and Slice: Because sweetened condensed milk provides both the sweetness and the creamy structure needed to stabilize melted chocolate, the mixture firms up reliably in the refrigerator after 2 hours of chilling.
- Clean, Sharp Squares: Lining the 8-by-8-inch square pan with parchment paper allows you to lift the chilled block cleanly out of the pan and transfer it onto a wooden cutting board for neat, even slicing with a chef’s knife.
Ingredients Breakdown
Gathering and measuring your ingredients into individual bowls before you begin ensures that the assembly moves quickly once the chocolate is melted. Since the melted chocolate mixture begins to thicken as soon as you stir in the mix-ins, having everything open and ready on your countertop makes folding effortless.
- Milk Chocolate Chips (Two 11.5-ounce / 326-gram bags): Two full bags of quality milk chocolate chips—such as Ghirardelli Milk Chocolate Chips—form the sweet, creamy foundation of the fudge. Milk chocolate melts smoothly when paired with condensed milk and creates a classic, mellow chocolate flavor that pairs naturally with marshmallows and roasted peanuts.
- Sweetened Condensed Milk (One 14-ounce can): One standard can of sweetened condensed milk—such as Eagle Brand Sweetened Condensed Milk—acts as the magic binder in this no-bake recipe. Poured directly over the unmelted chocolate chips before microwaving, its thick, milky consistency blends seamlessly with the warm chocolate to create a dense, sliceable fudge texture without any added butter or powdered sugar.
- Mini Marshmallows: A generous bowl of classic white mini marshmallows gives the fudge its signature rocky road look and chewy texture. Using miniature marshmallows rather than large ones allows them to distribute evenly throughout the chocolate batter and reveal striking white cross-sections when the chilled fudge block is sliced into squares.
- Peanuts: A bowl of shelled peanuts adds savory balance and a satisfying crunch to offset the sweetness of the milk chocolate and marshmallows. Folded in at the same time as the marshmallows, the peanuts become completely coated in chocolate and stay suspended throughout every layer of the finished bars.
Kitchen Equipment and Tools Needed
Before opening your ingredient packages, set up your workspace with the exact tools needed to prepare, chill, and slice the fudge:
- 8-by-8-Inch Square Baking Pan: A sturdy 8-by-8-inch metal square pan gives the rocky road fudge ideal thickness, resulting in tall, substantial squares loaded with mix-ins.
- Parchment Paper: Two overlapping sheets or a large custom-creased sheet of white parchment paper lines the bottom and sides of the 8-by-8-inch pan. Leaving an overhang around the rim makes it easy to lift the set fudge out of the metal pan in one solid piece.
- Large Microwave-Safe Glass Mixing Bowl: A wide, deep clear glass bowl holds both bags of chocolate chips and the full can of sweetened condensed milk comfortably, leaving plenty of room for stirring and folding in the marshmallows and peanuts without spilling over the sides.
- Small Prep Bowls: Two smaller glass bowls keep your mini marshmallows and peanuts measured and within arm’s reach so you can dump them straight into the melted chocolate.
- Microwave Oven: A standard household microwave heats the chocolate and condensed milk mixture in just 1 minute.
- Silicone Spatula: A flexible spatula scrapes the sides and bottom of the glass bowl cleanly, helping you stir the warm chocolate until silky and fold the chunky add-ins evenly through the batter.
- Metal Spoon: A large metal spoon helps scoop the thick, marshmallow-and-peanut-studded mixture into the lined baking pan and press it smoothly toward the corners.
- Refrigerator: Standard refrigerator shelving provides the cold environment required to chill and solidify the fudge over a 2-hour window.
- Wooden Cutting Board and Chef’s Knife: A flat wooden cutting board and a long, sharp chef’s knife allow you to make clean, straight downward cuts through the chilled chocolate, marshmallows, and peanuts.
Step-by-Step Instructions for Making Microwave Rocky Road Fudge
Follow each step in order to replicate the exact texture and presentation of this easy homemade fudge.
Step 1: Prepare and Line the Baking Pan
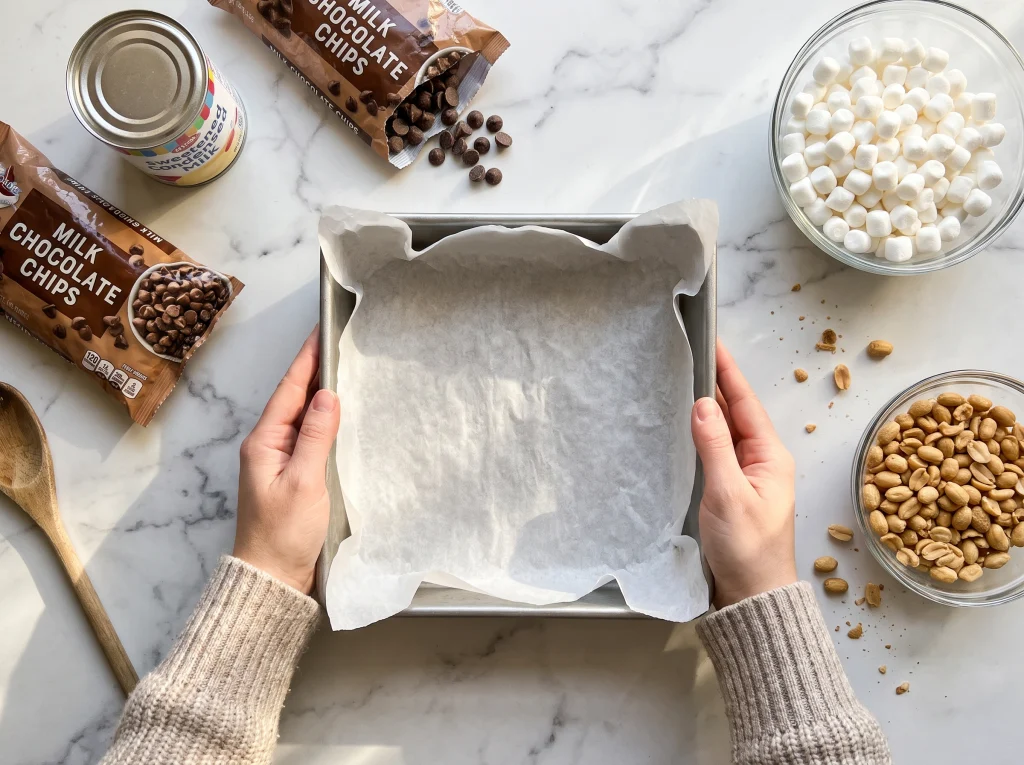
- Place your 8-by-8-inch square baking pan on the counter before heating any ingredients.
- Line the interior of the 8-by-8-inch pan with white parchment paper, pressing the paper firmly into the bottom edges and corners so the fudge takes on a neat square shape.
- Leave extra parchment paper overhanging the edges of the pan to serve as lifting handles once the fudge has chilled.
Step 2: Combine the Chocolate Chips and Sweetened Condensed Milk
- Open both bags of milk chocolate chips and dump them simultaneously into your large, clean glass mixing bowl.
- Open the can of sweetened condensed milk and pour the thick liquid directly over the mound of milk chocolate chips in the center of the bowl.
- Do not worry about stirring prior to heating; pouring the condensed milk straight onto the chocolate chips sets them up to warm together evenly in the microwave.
Step 3: Microwave for One Minute
- Transfer the glass bowl containing the chocolate chips and sweetened condensed milk into the microwave.
- Close the door and microwave the mixture for 1 minute.
- When the timer finishes, carefully remove the warm glass bowl from the microwave and place it back on your countertop work surface.
Step 4: Stir Until Smooth and Glossy
- Take your silicone spatula and begin stirring the warmed chocolate chips and condensed milk together from the center outward.
- Keep stirring steadily as the residual heat from the condensed milk and the bowl finishes melting the remaining whole chocolate chips.
- Continue working the mixture with the spatula until no unmelted chocolate chip shapes remain and you have a thick, ribbon-smooth, glossy milk chocolate fudge base.
Step 5: Fold in the Mini Marshmallows and Peanuts
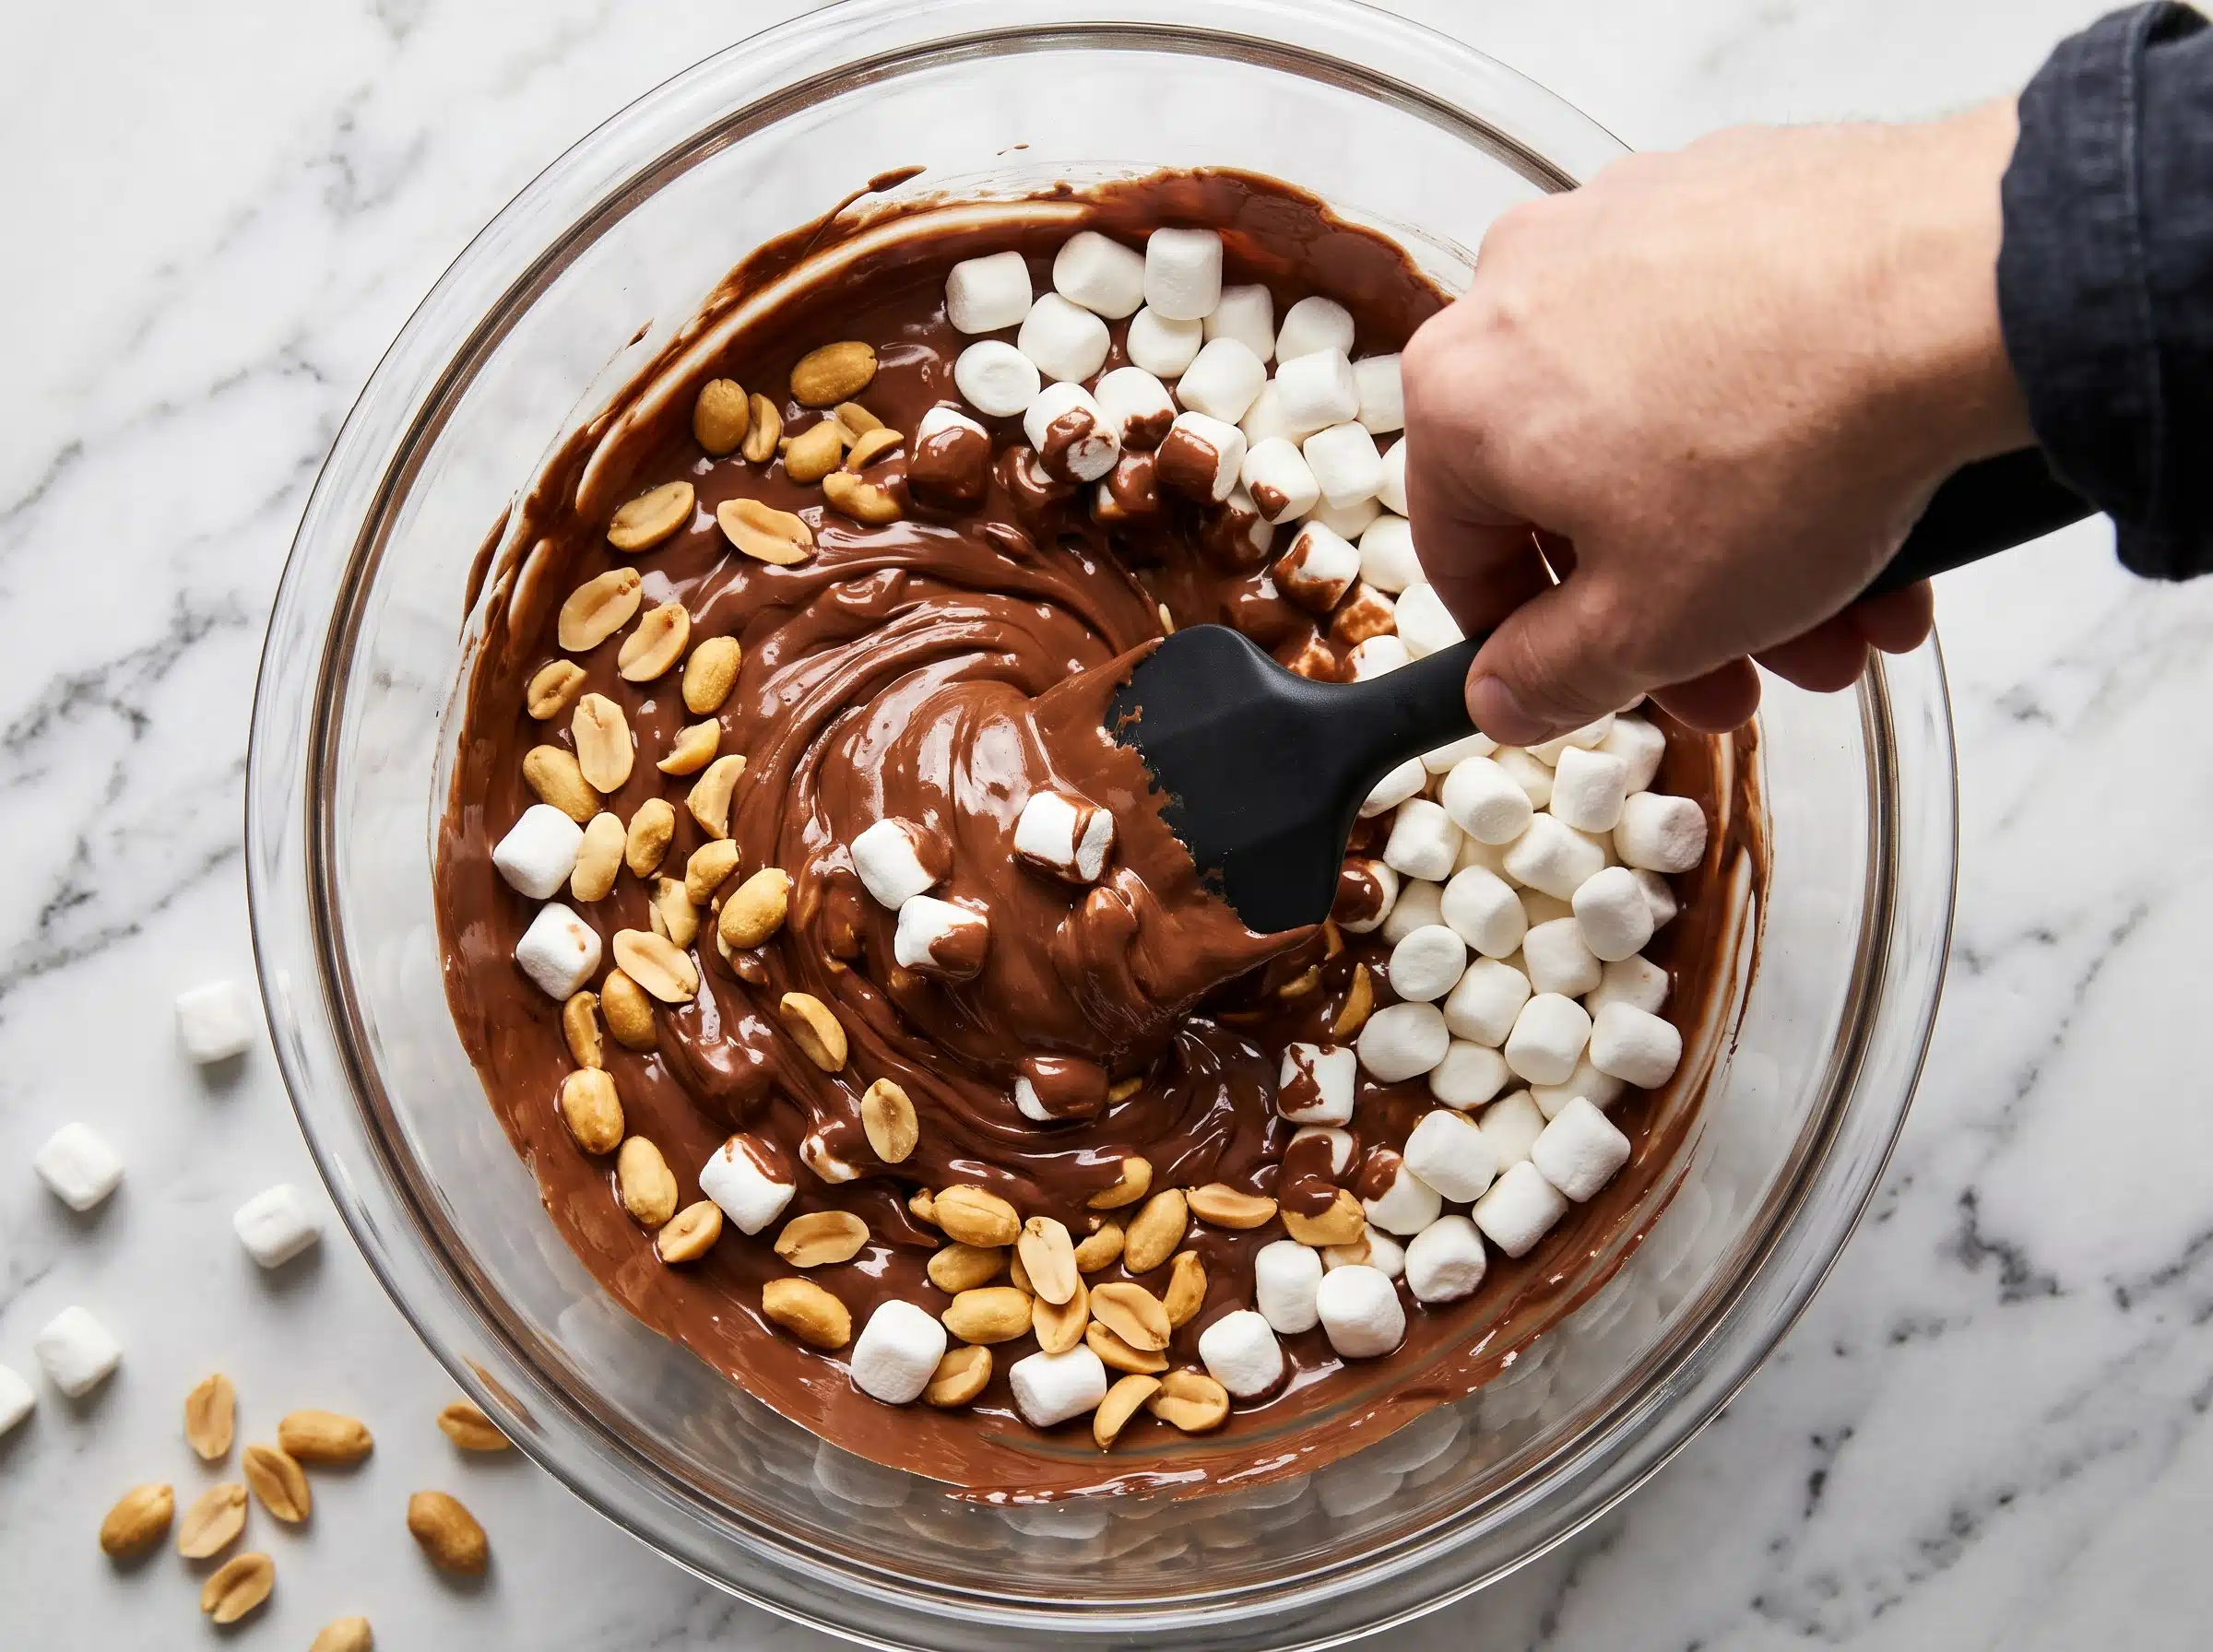
- Immediately pour the bowl of mini marshmallows and the bowl of peanuts onto the surface of the smooth melted chocolate.
- Use your silicone spatula to fold the marshmallows and peanuts down into the chocolate base.
- Turn the mixture over repeatedly from the bottom of the bowl until every marshmallow and peanut is thoroughly coated in chocolate and evenly distributed throughout the bowl.
Step 6: Press the Mixture into the Prepared Pan
- Spoon the thick rocky road mixture out of the glass bowl and drop it into the center of your parchment-lined 8-by-8-inch pan.
- Use the back of a metal spoon to push and press the fudge mixture outward toward all four walls and corners of the pan.
- Smooth and flatten the top surface with the back of the spoon so the block chills at a uniform height across the entire pan.
Step 7: Chill in the Refrigerator for Two Hours
- Place the filled 8-by-8-inch pan flat onto a shelf inside your refrigerator.
- Let the fudge chill undisturbed for 2 hours so the chocolate and condensed milk base firms up completely around the marshmallows and peanuts.
Step 8: Unmold and Slice into Squares
- Remove the chilled pan from the refrigerator after the 2-hour chilling time is complete.
- Unmold the solid slab of fudge from the pan and set it flat on a wooden cutting board with the parchment paper removed.
- Position a large, sharp chef’s knife across the top of the fudge block and press straight down to cut the slab into long strips.
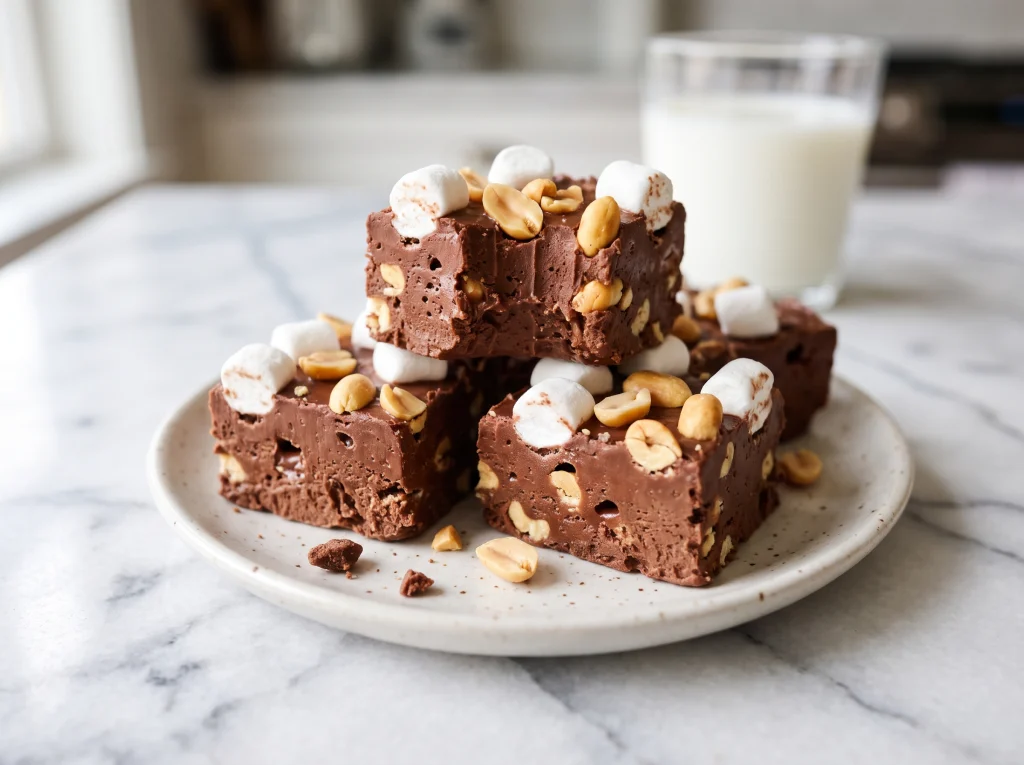
- Rotate or cut across the strips to divide the strips into bite-sized square pieces, revealing the cross-sections of halved mini marshmallows and crunchy peanuts embedded inside the chocolate.
Visual Cues and Texture Guide at Every Stage
Knowing what to look for at each step guarantees that your batch turns out just right on the first try:
| Stage of Recipe | What You Should See | Action to Take |
| Before Microwaving | Dark brown milk chocolate chips mounded in the bowl with thick, ivory sweetened condensed milk pooled on top. | Place directly into the microwave for 1 minute. |
| During Stirring | Partial chocolate chip shapes swirling with white streaks of condensed milk that quickly merge into a rich brown batter. | Keep stirring with your spatula until the streaks disappear and the mixture looks completely smooth and shiny. |
| After Folding Mix-Ins | Whole mini marshmallows and whole/halved peanuts thickly cloaked in chocolate without melting the marshmallows into liquid. | Transfer promptly to the parchment-lined 8-by-8-inch pan before the chocolate sets in the bowl. |
| Ready to Slice | A firm, matte-to-satin chocolate block that holds its edges cleanly when cut with a chef’s knife, exposing bright white marshmallow interiors and tan peanut pieces. | Slice into uniform squares and arrange on plates for serving. |
Quick Reference Recipe Card
- Recipe Name: 4-Ingredient Microwave Rocky Road Fudge
- Pan Size: 8-by-8-inch square pan lined with parchment paper
- Microwave Time: 1 minute
- Chill Time: 2 hours
Ingredients:
- 2 bags (11.5 oz / 326g each) milk chocolate chips
- 1 can sweetened condensed milk
- Mini marshmallows
- Peanuts
Directions:
- Line an 8-by-8-inch square pan with parchment paper.
- Dump the milk chocolate chips and sweetened condensed milk into a microwave-safe bowl.
- Microwave for 1 minute, then stir well with a spatula until completely melted and smooth.
- Fold in the mini marshmallows and peanuts until evenly coated.
- Press the mixture firmly into the parchment-lined pan using the back of a spoon.
- Chill in the refrigerator for 2 hours.
- Remove from the pan, place on a cutting board, and slice into squares.
Frequently Asked Questions
Why do you line the 8-by-8-inch pan with parchment paper? Lining the pan with parchment paper keeps the sticky chocolate and marshmallow mixture from adhering to the metal sides and bottom. Once the fudge has chilled in the refrigerator for 2 hours, the overhanging paper lets you lift the entire block out onto a cutting board so you can slice straight from edge to edge with a chef’s knife without scratching your baking pan.
Will 1 minute in the microwave completely melt the chocolate chips? When you remove the bowl after 1 minute in the microwave, many of the chocolate chips will still hold their shape until you begin stirring. Stirring well with a spatula distributes the heat from the warmed sweetened condensed milk and melted chocolate throughout the bowl, melting the remaining chips smoothly without scorching the chocolate.
Why don’t the mini marshmallows melt when folded into the chocolate? Because the chocolate and sweetened condensed milk are only heated in the microwave for 1 minute and then stirred thoroughly before the mix-ins are added, the chocolate base is warm and pliable rather than piping hot. This allows the mini marshmallows to keep their puffy, distinct shapes so you get clean white marshmallow cross-sections in every sliced square.