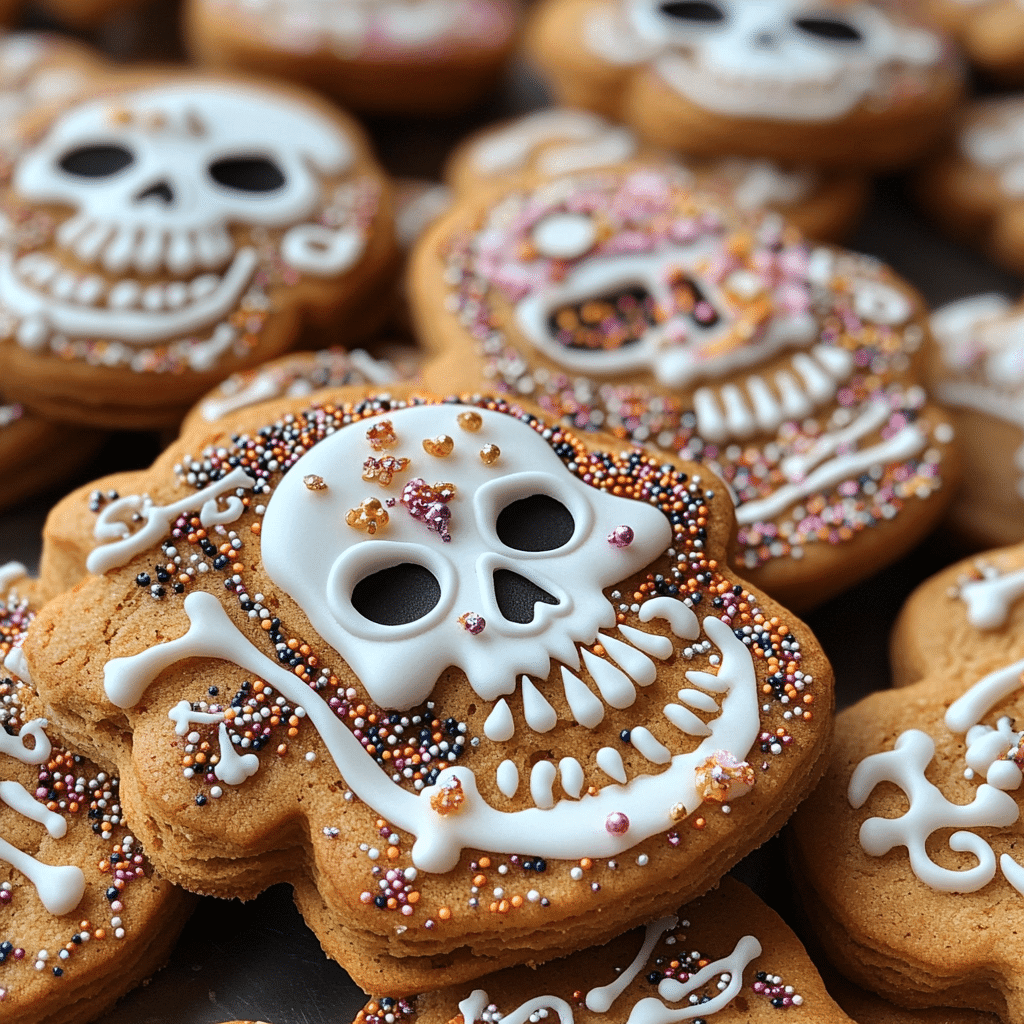
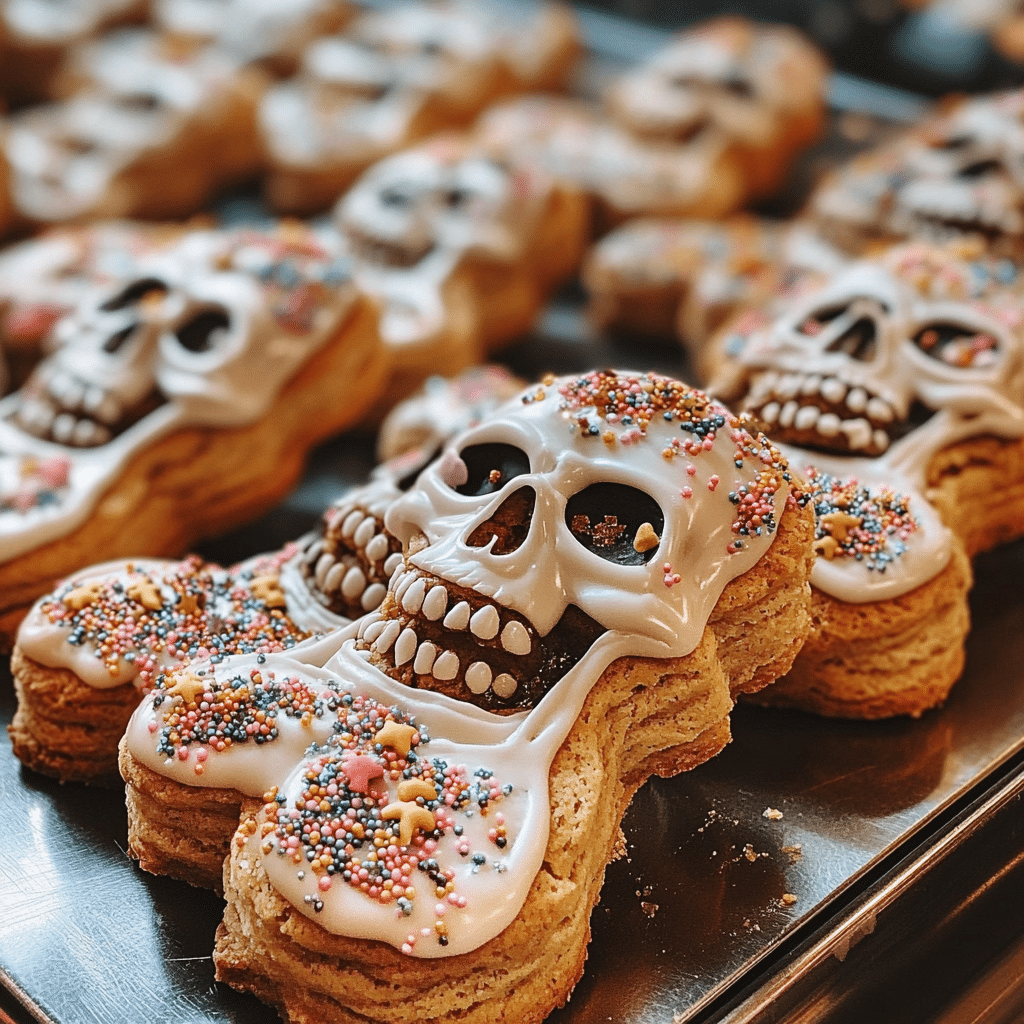
As Halloween approaches, one of my favorite traditions is whipping up a batch of Skeleton Biscuits! These adorable treats have become a staple in my home, and let me tell you, I’ve made them countless times. Each batch brings a wave of excitement and creativity, especially when I get the kids involved. The delight on their faces as we decorate each biscuit is priceless! Trust me, once you try this recipe, you’ll want to make it every year too. So, grab your apron and let’s get baking!
Why You’ll Love This Skeleton Biscuits Recipe
- Easy to Make: Perfect for all skill levels, even if you’re a beginner in the kitchen.
- Visually Stunning: These biscuits are a feast for the eyes, making them a hit at any Halloween gathering.
- Deliciously Versatile: Customize flavors and decorations to match your spooky theme.
- Great for Family Fun: Involve the kids in decorating, creating unforgettable memories while you bake.
- Make-Ahead Convenience: Bake them in advance and store, making your Halloween prep a breeze.
The Secret to Perfect Skeleton Biscuits
The secret to these delightful Skeleton Biscuits lies in the dough! A simple combination of butter, sugar, and flour creates a rich, buttery base that holds its shape beautifully during baking. Here’s my insider tip: chill the dough before rolling it out. This small step is a game-changer, ensuring your skeleton shapes come out perfectly crisp and detailed. Trust me, this will give your biscuits that professional touch!
Rave Reviews from Friends and Followers
“These Skeleton Biscuits were the highlight of our Halloween party! Everyone loved them, both for how they looked and how they tasted!” – Sarah L.
“I couldn’t believe how easy these were to make! My kids had a blast decorating, and they turned out so cute!” – Mike R.
“The flavors were incredible, and the presentation was just so fun! I’ll definitely be making these every year!” – Jessica T.
Creative Variations to Try
- Chocolate Skeletons: Add cocoa powder to the dough for a rich chocolate flavor.
- Spiced Pumpkin Biscuits: Incorporate pumpkin puree and pumpkin spice for a seasonal twist.
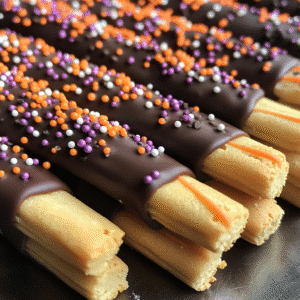
- Rainbow Skeletons: Use colored icing to create vibrant designs.
- Nutty Biscuits: Fold in chopped nuts or nut butter for added texture and flavor.
Bonus: Consider using edible glitter to give your biscuits a spooky sparkle!
FAQs – All Your Questions Answered!
Can I make the dough ahead of time? Absolutely! You can chill the dough for up to 3 days before rolling it out.
How should I store the biscuits? Keep them in an airtight container at room temperature for up to a week.
Can I substitute ingredients? Yes! Use almond flour instead of regular flour for a gluten-free option, and honey instead of sugar for a natural sweetener.
What if my dough is too crumbly? If you find the dough isn’t holding together, try adding a teaspoon of milk or water until it reaches the right consistency.
Storage/Serving Tips
- Store in an airtight container at room temperature to keep them fresh.
- These biscuits can last up to a week, but I bet they won’t last that long!
- For serving, consider a fun Halloween platter or a spooky-themed table setting.
Perfect Occasions for Skeleton Biscuits
- Halloween parties with friends and family.
- School Halloween events or bake sales.
- Movie nights featuring spooky films.
- As treats for trick-or-treaters that stop by.
- Fall gatherings where festive treats are a must!
The Complete Recipe
Thank you for sticking with me through all the delicious details! Now, let’s dive into the actual recipe for these Skeleton Biscuits.
Skeleton Biscuits
Ingredients
- 2 ½ cups all-purpose flour
- 1 cup unsalted butter, softened
- 1 cup granulated sugar
- 1 large egg
- 1 tsp vanilla extract
- ½ tsp baking powder
- ½ tsp salt
- Royal icing for decoration (store-bought or homemade)
- Optional: sprinkles, edible glitter, or colored gel icing for detail
Tip: Make sure your butter is softened to room temperature for easier mixing. If you’re in a hurry, cut it into small chunks to speed up the softening process.
Step-by-Step Instructions
Step 1: Prepare the Dough
In a large mixing bowl, cream together the softened butter and granulated sugar until light and fluffy. This should take about 3-5 minutes. It’s essential to beat well, as this creates air pockets that help the biscuits rise!
Step 2: Add the Egg and Flavors
Next, add in the egg and vanilla extract, mixing until well combined. The mixture should look smooth and creamy. This is where your biscuits start to take on that wonderful flavor!
Step 3: Combine Dry Ingredients
In a separate bowl, whisk together the flour, baking powder, and salt. Gradually add this dry mixture to the wet ingredients, mixing just until combined. Be careful not to overmix; this helps keep your biscuits tender.
Step 4: Chill the Dough
Wrap the dough in plastic wrap and refrigerate it for at least 1 hour. This step is crucial for maintaining the shapes of your skeletons during baking.
Step 5: Roll and Cut the Dough
Preheat your oven to 350°F (175°C). On a lightly floured surface, roll out the chilled dough to about ¼ inch thick. Use skeleton-shaped cookie cutters to cut out your biscuits. Place them on a lined baking sheet, leaving space between each one.
Step 6: Bake!
Bake in the preheated oven for about 10-12 minutes, or until the edges are lightly golden. Keep an eye on them; you want them to hold their shape but not get too brown!
Step 7: Cool and Decorate
Allow the biscuits to cool completely on a wire rack. Once cool, it’s time to get creative! Use royal icing, sprinkles, and gel icing to decorate your skeletons. This is the fun part where you can let your imagination run wild!
Nutrition Info: Each Skeleton Biscuit contains approximately 150 calories, 8g fat, 20g carbs, and 2g protein, making them a delightful treat for Halloween festivities.
Final Thoughts
These Skeleton Biscuits are not just a recipe; they’re a ticket to creating delightful Halloween memories with your loved ones. With their easy preparation and spooky charm, they’re sure to be a showstopper at any gathering. So go ahead, give this recipe a try, and I promise you’ll love every moment of baking and decorating. Happy Halloween baking!