Gut-Friendly, Delicious, and Ridiculously Easy
I’ve been making these No-Bake Low-FODMAP Energy Bars every Sunday for the past year, and they’ve completely transformed my snack game. These bars are the perfect solution for anyone navigating digestive sensitivities without sacrificing flavor or convenience. Wholesome, satisfying, and absolutely foolproof—these No-Bake Low-FODMAP Energy Bars prove that eating for your gut health can be genuinely delicious.
If you’ve ever felt limited by dietary restrictions or overwhelmed by complicated “healthy” recipes, this is your moment. These bars come together in minutes, require zero baking, and taste like something from an expensive health food store. Plus, they’re so good that people without digestive issues will be asking for the recipe!
🌟 Why These Energy Bars Will Change Your Snack Life
✅ No Baking Required Your oven gets to stay off! Just mix, press, chill, and enjoy. Perfect for hot days or tiny kitchens.
✅ FODMAP-Friendly Without Compromise Finally, an energy bar that won’t trigger symptoms but still tastes indulgent and satisfying.
✅ Budget-Friendly Nutrition Store-bought low-FODMAP bars cost a fortune. Make a whole batch of these for a fraction of the price!
✅ Meal Prep Champion Make them once and have nutritious snacks ready all week. Your future self will thank you!
🔥 The Secret to Perfect Low-FODMAP Energy Bars
You might wonder—how do you make energy bars that actually hold together without all the typical binders?
The magic is in the ratio of almond butter to maple syrup. This combination creates the perfect sticky texture that binds everything without being too wet or too crumbly. The pressed, chilled method ensures each bar stays intact whether you’re tossing it in your gym bag or packing it for a hike.
The beauty of this recipe is its simplicity. No mysterious ingredients, no complicated techniques—just real food that actually tastes good and makes your body happy.
💬 Rave Reviews from the Low-FODMAP Community
💬 “First energy bar recipe that doesn’t upset my stomach AND actually tastes good!” – Jennifer K.
💬 “I’ve tried so many recipes and these are IT. My non-FODMAP family steals them!” – Marcus R.
💬 “The perfect pre-workout snack that doesn’t leave me bloated. Game changer.” – Alicia M.
📌 Creative Variations to Try
Once you master the base recipe, the possibilities are endless:
Chocolate Lover’s Dream: Add 2 tablespoons cocoa powder and swap cranberries for dark chocolate chips (check FODMAP serving sizes)
Tropical Escape: Replace cranberries with dried pineapple chunks and add extra coconut
Seed Spectacular: Mix in chia seeds and hemp hearts for an omega-3 boost
Citrus Zing: Add a teaspoon of orange zest for bright, fresh flavor
Protein Power: Stir in 2 tablespoons of low-FODMAP protein powder for extra staying power
🧠 FAQs – All Your Questions Answered!
Are these actually low-FODMAP? Yes! All ingredients are low-FODMAP in the amounts used. Just ensure your dried cranberries don’t have high-FODMAP additives.
Can I make these nut-free? Absolutely! Sunflower seed butter works perfectly as a substitute for almond butter.
How long do they last? Up to two weeks in the refrigerator, or freeze individually wrapped bars for up to three months.
My bars are too crumbly—help! Make sure you’re pressing firmly and using enough almond butter. If needed, add an extra tablespoon of maple syrup.
Can I eat these on the go? That’s what they’re designed for! Wrap individually in parchment or wax paper for perfect portable snacks.
🧊 Storage Tips
Keep your energy bars fresh and delicious:
- Store in an airtight container in the refrigerator between layers of parchment paper
- Individually wrap bars for easy grab-and-go convenience
- Freeze extras for longer storage (thaw for 10 minutes before eating)
- Best texture when eaten chilled straight from the fridge
🎉 Perfect Occasions for Low-FODMAP Energy Bars
These versatile bars are lifesavers for:
- Pre or post-workout fuel
- Travel snacks that won’t upset your stomach
- Office desk drawer emergency stash
- Kids’ lunchboxes (if no nut allergies)
- Hiking and outdoor adventures
- Afternoon energy slump rescue
🔗 Helpful Resources
- Understanding the Low-FODMAP Diet
- Best Low-FODMAP Ingredient Swaps
- Gut-Friendly Meal Prep Ideas
- More Low-FODMAP Snack Recipes
📋 The Complete Recipe
Ready to make snacking easy and gut-friendly? Here’s everything you need:
🥜 No-Bake Low-FODMAP Energy Bars
🧺 Ingredients
For approximately 10-12 bars:
- 1 cup rolled oats (certified gluten-free if necessary)
- 1/2 cup almond butter (or sunflower seed butter for nut-free)
- 1/4 cup pure maple syrup
- 1/4 cup pumpkin seeds
- 1/4 cup dried cranberries (ensure low-FODMAP, no added apple juice)
- 1/4 cup unsweetened shredded coconut
- 1/4 teaspoon salt
- 1/2 teaspoon vanilla extract
Pro Tip: Use natural almond butter with just almonds and salt—no added oils or sugars needed!
🍽️ Step-by-Step Instructions
Step 1: Set Up Your Station Line an 8×8 inch baking dish or shallow pan with parchment paper, leaving some overhang on the sides for easy removal. Gather all your ingredients and a large mixing bowl.
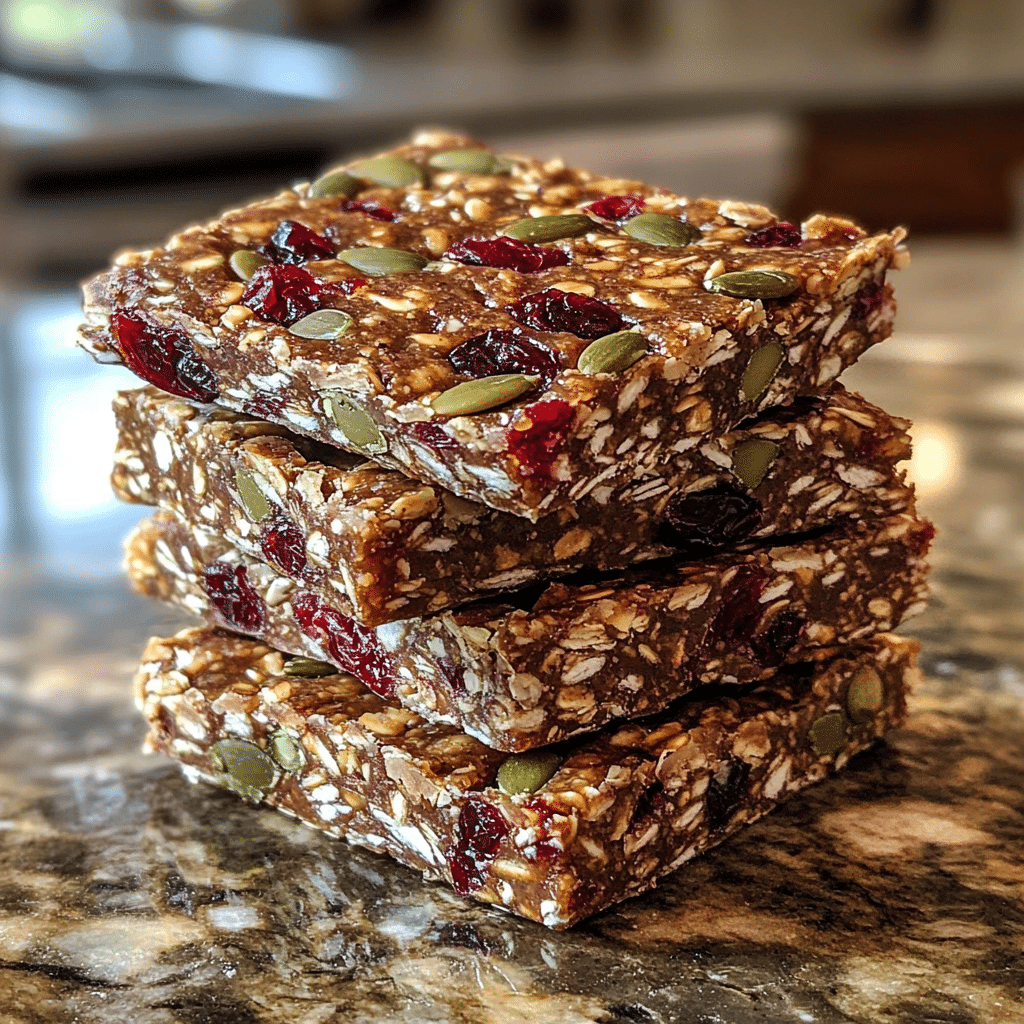
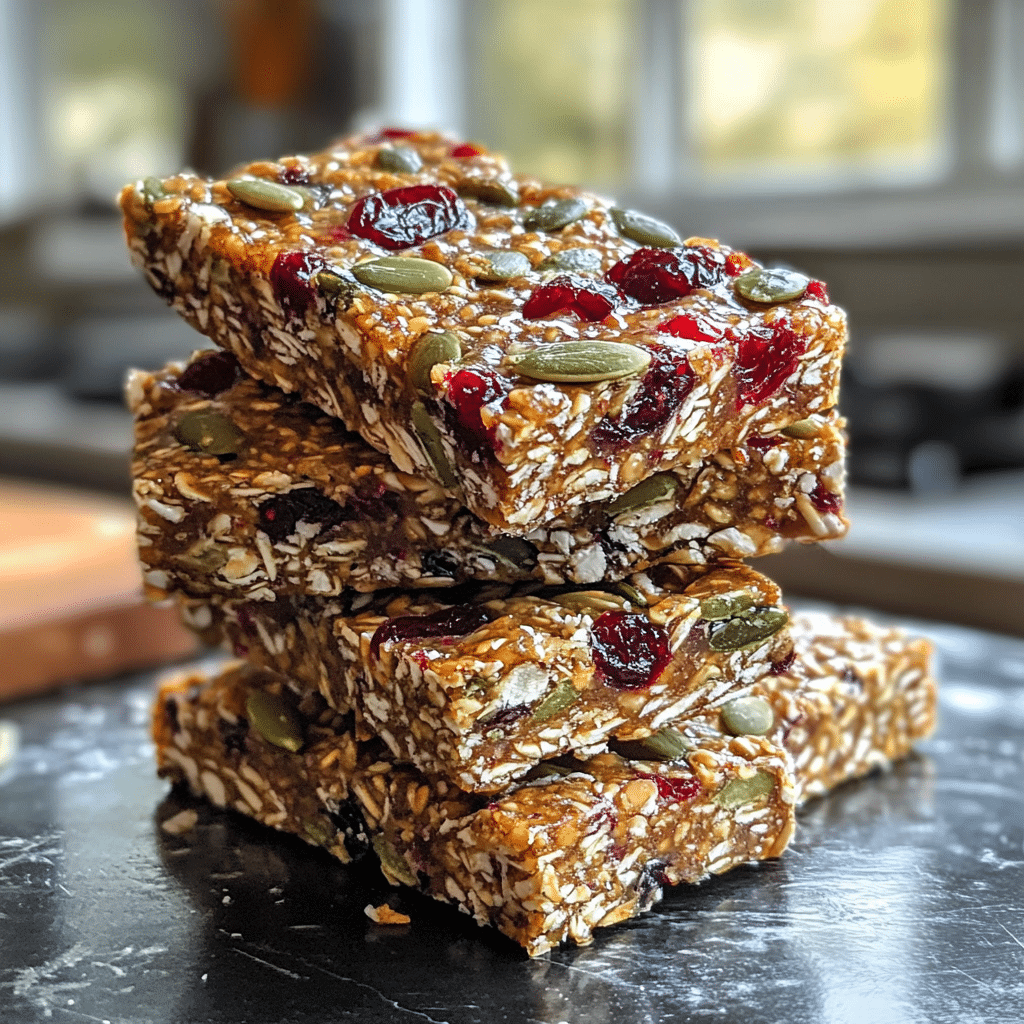
Step 2: Combine the Dry Ingredients In your large mixing bowl, mix together the rolled oats, pumpkin seeds, dried cranberries, shredded coconut, and salt. Stir everything together until evenly distributed. The mixture should look colorful and inviting!
Step 3: Prepare the Binding Mixture In a separate bowl, combine the almond butter, maple syrup, and vanilla extract. Stir vigorously with a spatula until completely smooth and well blended. If your almond butter is firm, you can warm it slightly in the microwave for 15-20 seconds.
Step 4: Bring It All Together Pour the wet mixture over your dry ingredients. Using your spatula, fold everything together thoroughly. Keep mixing until every oat and seed is coated with the almond butter mixture. This is your arm workout for the day!
Step 5: Press and Pack Transfer the mixture into your prepared pan. Using the spatula or your hands (slightly dampened works great!), spread the mixture evenly across the bottom. Press down firmly—really put some muscle into it! The more compact you make it, the better your bars will hold together.
Step 6: Chill and Set Cover the pan with plastic wrap or foil and refrigerate for at least 1 hour. For best results, let them chill for 2-3 hours or even overnight. Patience pays off here!
Step 7: Cut Your Bars Remove the pan from the refrigerator and use the parchment overhang to lift the entire block out. Place it on a cutting board and use a sharp knife to cut into bars or squares. For clean cuts, wipe the knife between each slice.
Step 8: Store and Enjoy Transfer your beautiful bars to an airtight container with parchment paper between layers. Keep refrigerated and grab one whenever you need a nutritious boost!
📊 Nutrition (per bar, makes 12)
- Calories: ~140
- Protein: 4g
- Carbs: 16g
- Fiber: 3g
- Sugar: 8g
- Healthy Fats: 7g
✨ Final Thoughts
Living with digestive sensitivities doesn’t mean settling for boring, tasteless snacks. These No-Bake Low-FODMAP Energy Bars prove that you can have it all—convenience, nutrition, amazing flavor, AND gut-friendly ingredients. They’re the snack that finally understands what your body needs!
Make a batch this weekend and discover how satisfying healthy eating can be. Your gut will be happy, your taste buds will be thrilled, and your meal prep game will be stronger than ever!
Print
No Bake Low-FODMAP Energy Bars
Description
I’ve been making these No-Bake Low-FODMAP Energy Bars every Sunday for the past year, and they’ve completely transformed my snack game. These bars are the perfect solution for anyone navigating digestive sensitivities without sacrificing flavor or convenience. Wholesome, satisfying, and absolutely foolproof—these No-Bake Low-FODMAP Energy Bars prove that eating for your gut health can be genuinely delicious.
Ingredients
🥜 No-Bake Low-FODMAP Energy Bars
🧺 Ingredients
For approximately 10-12 bars:
-
- 1 cup rolled oats (certified gluten-free if necessary)
-
- 1/2 cup almond butter (or sunflower seed butter for nut-free)
-
- 1/4 cup pure maple syrup
-
- 1/4 cup pumpkin seeds
-
- 1/4 cup dried cranberries (ensure low-FODMAP, no added apple juice)
-
- 1/4 cup unsweetened shredded coconut
-
- 1/4 teaspoon salt
-
- 1/2 teaspoon vanilla extract
Pro Tip: Use natural almond butter with just almonds and salt—no added oils or sugars needed!
Instructions
Step 1: Set Up Your Station Line an 8×8 inch baking dish or shallow pan with parchment paper, leaving some overhang on the sides for easy removal. Gather all your ingredients and a large mixing bowl.
Step 2: Combine the Dry Ingredients In your large mixing bowl, mix together the rolled oats, pumpkin seeds, dried cranberries, shredded coconut, and salt. Stir everything together until evenly distributed. The mixture should look colorful and inviting!
Step 3: Prepare the Binding Mixture In a separate bowl, combine the almond butter, maple syrup, and vanilla extract. Stir vigorously with a spatula until completely smooth and well blended. If your almond butter is firm, you can warm it slightly in the microwave for 15-20 seconds.
Step 4: Bring It All Together Pour the wet mixture over your dry ingredients. Using your spatula, fold everything together thoroughly. Keep mixing until every oat and seed is coated with the almond butter mixture. This is your arm workout for the day!
Step 5: Press and Pack Transfer the mixture into your prepared pan. Using the spatula or your hands (slightly dampened works great!), spread the mixture evenly across the bottom. Press down firmly—really put some muscle into it! The more compact you make it, the better your bars will hold together.
Step 6: Chill and Set Cover the pan with plastic wrap or foil and refrigerate for at least 1 hour. For best results, let them chill for 2-3 hours or even overnight. Patience pays off here!
Step 7: Cut Your Bars Remove the pan from the refrigerator and use the parchment overhang to lift the entire block out. Place it on a cutting board and use a sharp knife to cut into bars or squares. For clean cuts, wipe the knife between each slice.
Step 8: Store and Enjoy Transfer your beautiful bars to an airtight container with parchment paper between layers. Keep refrigerated and grab one whenever you need a nutritious boost!
Notes
Nutrition (per bar, makes 12)
- Calories: ~140
- Protein: 4g
- Carbs: 16g
- Fiber: 3g
- Sugar: 8g
- Healthy Fats: 7g
Nutrition
- Calories: 140