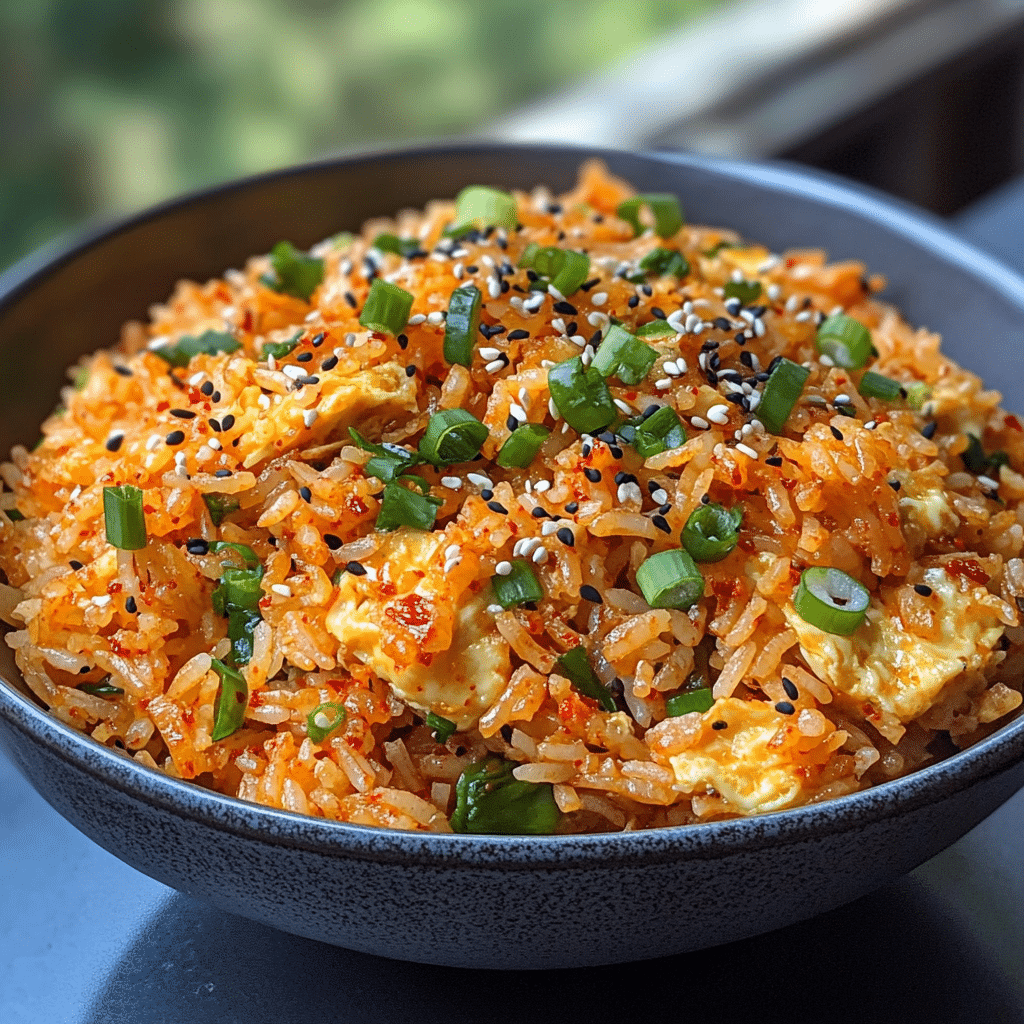
Discover the Delight of Savory Kimchi Fried Rice
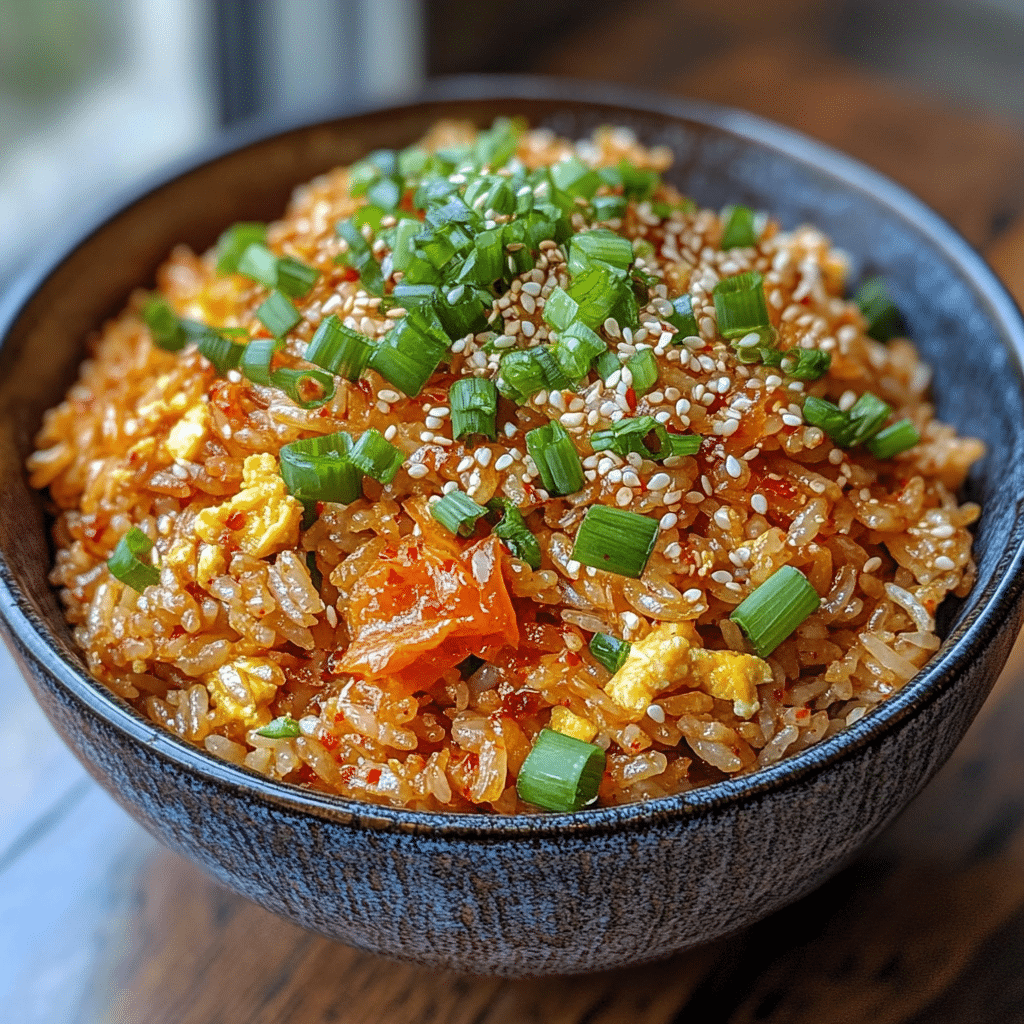
If you’re looking for a dish that’s bursting with flavor and packed with comfort, look no further than this delicious recipe. Kimchi Fried Rice is a classic Korean dish that brings together the spicy, fermented goodness of kimchi with the satisfying textures of fried rice. This particular version elevates the dish with a touch of creamy coconut, creating a unique fusion that’s both exotic and comforting. Whether you’re a seasoned home cook or just starting your culinary journey, this recipe is sure to impress your taste buds and those of your family and friends!
Why You’ll Love This Recipe
- Flavor Explosion: The combination of tangy kimchi and rich coconut cream creates a mouthwatering fusion.
- Quick and Easy: Perfect for busy weeknights, this dish can be made in under 30 minutes!
- Versatile: Customize it with your favorite proteins and vegetables for a personalized touch.
- Comfort Food: This dish is not only filling but also brings a sense of warmth and nostalgia.
- Visually Stunning: The vibrant colors make it a feast for the eyes and a highlight of any meal.
Ingredients You’ll Need
For the Fried Rice
- 2 cups cooked rice (preferably day-old for best texture)
- 1 cup kimchi, chopped
- 1 tablespoon vegetable oil
- 2 green onions, sliced
- 2 cloves garlic, minced
- 2 eggs (optional)
- Salt and pepper, to taste
For the Coconut Cream Sauce
- 1/2 cup coconut cream
- 1 tablespoon soy sauce
- 1 teaspoon sesame oil
- 1 teaspoon chili paste (adjust for spice preference)
Step-by-Step Instructions
- Prepare the Ingredients: If using day-old rice, break up any clumps. Chop the kimchi, slice the green onions, and mince the garlic.
- Make the Coconut Cream Sauce: In a small bowl, whisk together the coconut cream, soy sauce, sesame oil, and chili paste. Set aside.
- Cook the Aromatics: Heat the vegetable oil in a large skillet over medium heat. Add the minced garlic and sauté for about 30 seconds until fragrant.
- Add the Kimchi: Stir in the chopped kimchi and cook for 2-3 minutes, allowing it to caramelize slightly.
- Fry the Rice: Add the cooked rice to the skillet, breaking it up as you mix it with the kimchi. Stir-fry for about 5 minutes until heated through.
- Add Eggs (Optional): Push the rice to one side of the skillet. Crack the eggs into the empty side and scramble them until cooked, then mix into the rice.
- Combine and Serve: Pour the coconut cream sauce over the rice mixture, stir to combine thoroughly, and cook for an additional 2 minutes. Season with salt and pepper to taste.
Serving Suggestions
This savory kimchi fried rice is a meal in itself, but it pairs beautifully with a variety of sides. Here are some suggestions:
- Side Salads: A light cucumber salad or a simple green salad can add a refreshing crunch.
- Protein Additions: Consider serving it with grilled chicken, shrimp, or tofu for a heartier meal.
- Pickled Vegetables: A side of pickled radishes or carrots will complement the flavors perfectly.
- Soup: A warm bowl of miso soup or a light broth can balance the meal nicely.
Tips for Success
- Use Day-Old Rice: Freshly cooked rice is often too sticky. Day-old rice is dryer and gives the best texture for frying.
- Adjust Spice Levels: If you prefer milder flavors, reduce the amount of chili paste or use a milder kimchi.
- Storage: Leftovers can be stored in an airtight container in the fridge for up to 3 days. Reheat in a skillet for best results.
- Experiment: Don’t hesitate to add your favorite vegetables or proteins to the mix for a unique twist!
Final Thoughts
This Savory Kimchi Fried Rice with a Touch of Coconut Cream is more than just a meal; it’s a celebration of flavors that you can enjoy any night of the week. With its vibrant colors, rich textures, and delightful taste, this dish is bound to become a favorite in your household. So, gather your ingredients and dive into this culinary adventure. Don’t forget to save this recipe for your next cooking session!