Let me tell you about a little weekend ritual that has completely transformed my breakfast game: homemade waffles! Trust me, once you try this homemade waffles recipe, it will become a staple in your kitchen. I’ve made these fluffy buttermilk wonders countless times, and every single time, my family can’t get enough. Whether it’s a lazy Saturday or a sunny Sunday morning, these waffles have become our go-to indulgence. Let’s dive into why you need this recipe in your life!
Why You’ll Love This Homemade Waffles Recipe
- Incredibly Fluffy: These waffles have the perfect airy texture that just melts in your mouth.
- Easy to Make: With simple ingredients and straightforward steps, you’ll whip these up in no time.
- Versatile Toppings: From syrup to fresh fruit, the topping possibilities are endless!
- Make-Ahead Convenience: You can prepare the batter ahead of time, making breakfast a breeze.
- Wow Factor: Impress your friends and family with delicious homemade waffles that look and taste gourmet.
The Secret to Perfect Homemade Waffles
The secret to achieving perfect homemade waffles lies in the buttermilk! The acidity in buttermilk reacts with the baking powder to create an incredible lift, resulting in light, fluffy waffles. Trust me, this is a game-changer. Another insider tip? Let the batter rest for about 5-10 minutes before cooking. This little step allows the ingredients to meld together and ensures a dreamy texture. Anyone can make these; I promise you’ll feel like a pro in the kitchen!
Rave Reviews from Friends and Followers
“I never thought I could make waffles as good as these! They’re now a weekend must-have in our house!” – Sarah L.
“These waffles are a hit with my kids. They ask for them every Saturday morning!” – Mark T.
“I brought these to a brunch with friends, and they were gone in minutes! So delicious!” – Emily R.
Creative Variations to Try
- Chocolate Chip Waffles: Add chocolate chips to the batter for a sweet twist!
- Blueberry Bliss: Toss in fresh or frozen blueberries for a fruity burst.
- Banana Nut: Incorporate mashed bananas and chopped walnuts for a hearty flavor.
- Cinnamon Roll Waffles: Swirl in cinnamon and sugar for a delightful treat.
- Bonus: Try adding a splash of vanilla extract for an extra depth of flavor!
FAQs – All Your Questions Answered!
Can I use regular milk instead of buttermilk?
Yes! If you don’t have buttermilk, you can make a quick substitute by mixing 1 cup of milk with 1 tablespoon of vinegar or lemon juice. Let it sit for 5 minutes before using.
How do I store leftover waffles?
Once cooled, you can store leftover waffles in an airtight container in the refrigerator for up to 2 days or in the freezer for up to 2 months.
Can I make the batter ahead of time?
Absolutely! You can prepare the batter the night before and store it in the refrigerator. Just give it a gentle stir before using.
What should I do if my waffles stick to the waffle iron?
Make sure to preheat your waffle iron and use a non-stick spray or brush it with melted butter before pouring in the batter.
Storage/Serving Tips
- Store leftover waffles in an airtight container in the fridge or freezer.
- Reheat in a toaster for crispy edges!
- Serve with a variety of toppings like whipped cream, fresh fruit, or even ice cream for a decadent treat.
Perfect Occasions for Homemade Waffles
- Weekend family brunches
- Holiday mornings with family and friends
- Cozy breakfast-for-dinner nights
- Sleepovers with kids
- Special occasions like birthdays or anniversaries
The Complete Recipe
Thank you for sticking with me through my waffle-loving journey! Now, let’s get to the good stuff—the actual recipe!
Homemade Waffles
Ingredients
- 2 cups all-purpose flour
- 2 tablespoons sugar
- 1 tablespoon baking powder
- 1/2 teaspoon baking soda
- 1/2 teaspoon salt
- 2 large eggs
- 2 cups buttermilk
- 1/2 cup melted butter
- 1 teaspoon vanilla extract (optional)
Tip: For a more decadent waffle, substitute half of the buttermilk with heavy cream. You’ll love the richness!
Step-by-Step Instructions
Step 1: Preheat Your Waffle Iron
Before you start mixing the batter, preheat your waffle iron according to the manufacturer’s instructions. This ensures that your waffles cook evenly and become crispy on the outside.
Step 2: Combine Dry Ingredients
In a large bowl, whisk together the flour, sugar, baking powder, baking soda, and salt until well-combined. This step is essential for even distribution of the leavening agents, which helps your waffles rise beautifully!
Step 3: Mix Wet Ingredients
In another bowl, whisk the eggs, buttermilk, melted butter, and vanilla extract until smooth. This mixture should look creamy and inviting!
Step 4: Combine Mixtures
Pour the wet ingredients into the dry ingredients and stir gently until just combined. Don’t overmix; a few lumps are perfectly fine! This helps keep your waffles light and fluffy.
Step 5: Let the Batter Rest
Let the batter rest for about 5-10 minutes. This waiting time allows the gluten to relax and creates a tender waffle. Trust me, this little step makes a big difference!
Step 6: Cook the Waffles
Once your waffle iron is preheated, pour the recommended amount of batter onto the center of the iron. Close the lid and cook according to your waffle iron’s instructions, usually about 4-6 minutes. The waffles should be golden brown and crispy!
Step 7: Serve and Enjoy!
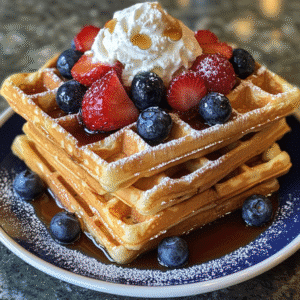
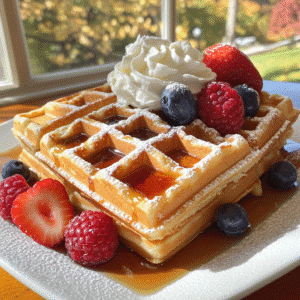
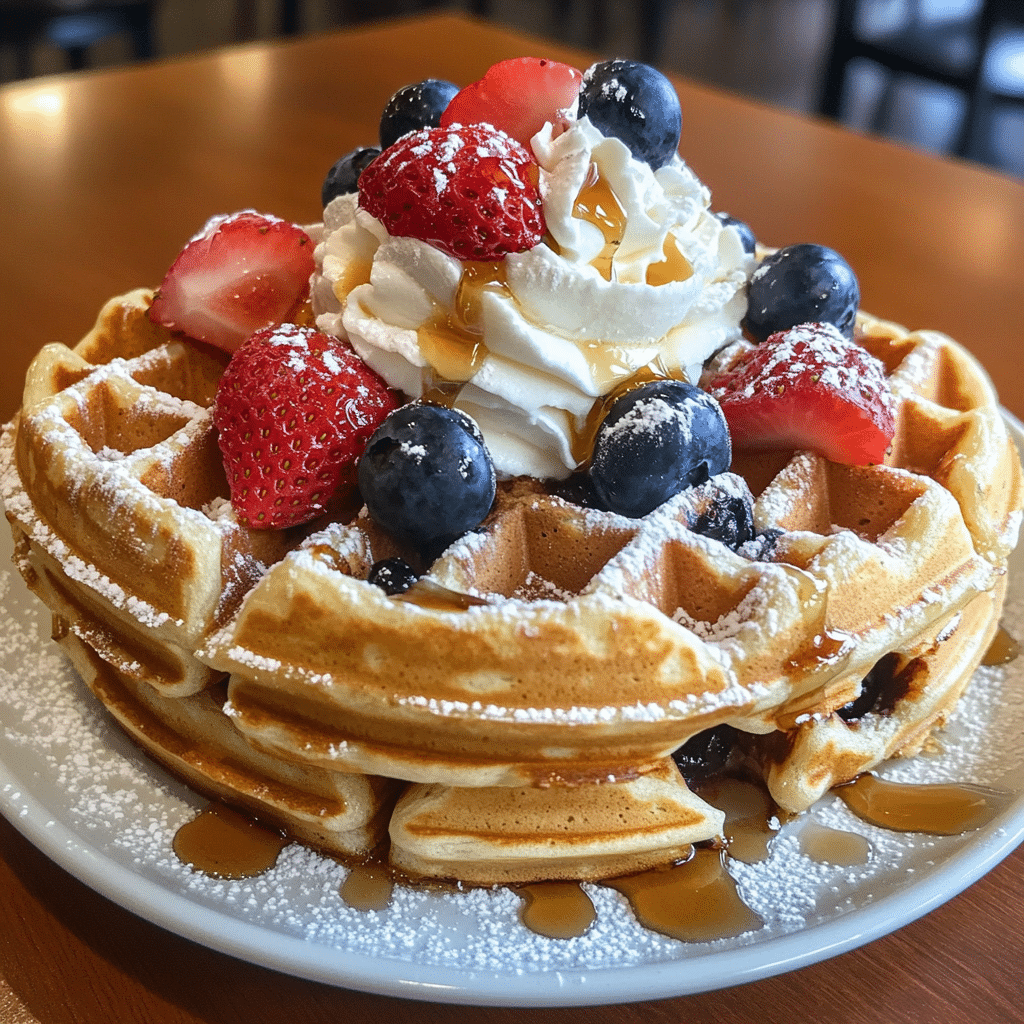
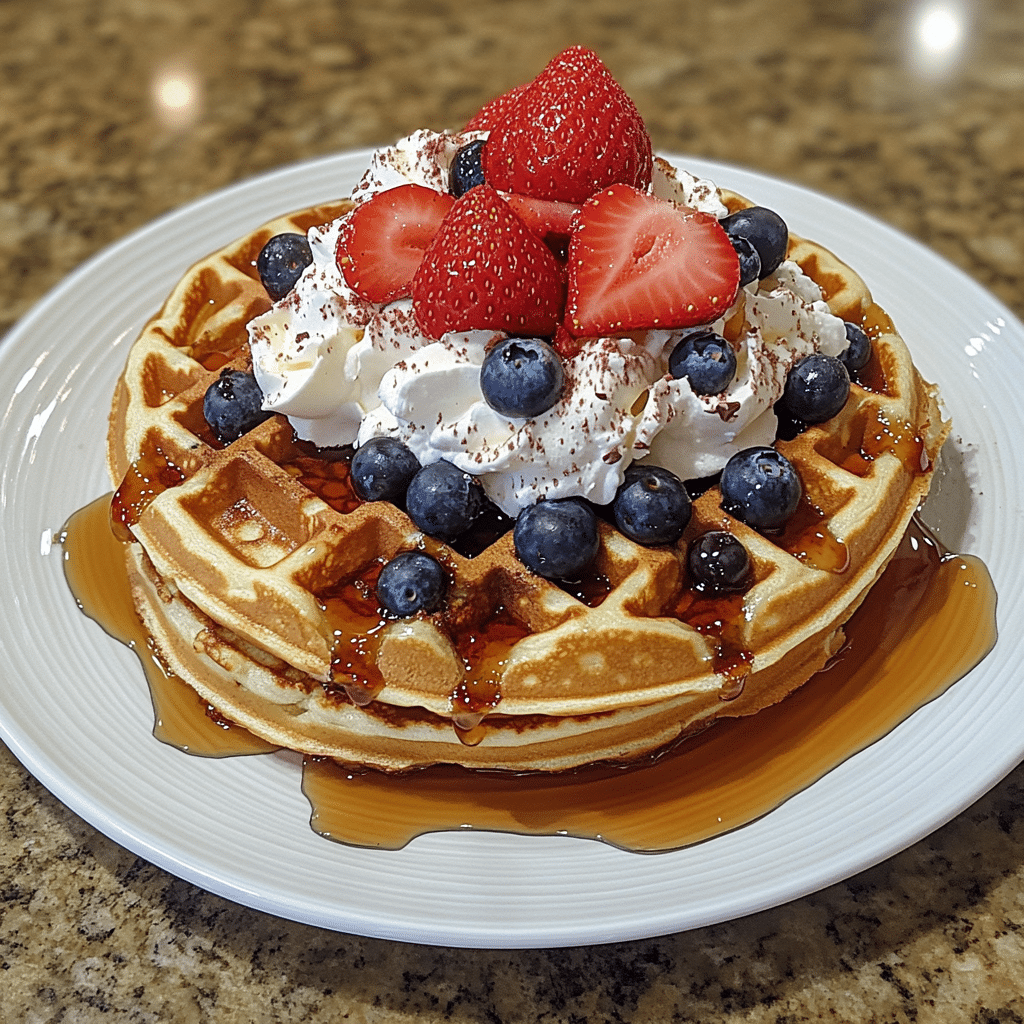
Serve your waffles warm with your favorite toppings. Fresh berries, whipped cream, syrup, or even a scoop of ice cream—get creative! Enjoy every delicious bite!
Nutrition Info: Each serving contains approximately 250 calories, 10g fat, 36g carbohydrates, and 6g protein. This can vary based on toppings and variations.
Final Thoughts
I hope you’re as excited to make these homemade waffles as I am to share this recipe with you! There’s something so special about the smell of waffles wafting through the house, and the joy they bring to breakfast time is immeasurable. Don’t hesitate—get into your kitchen and whip up a batch of these fluffy buttermilk waffles. You won’t regret it! Enjoy your new weekend breakfast obsession!