Every holiday season, I find myself in the kitchen whipping up a batch of irresistible Christmas finger desserts, and let me tell you, it’s become a cherished tradition! I can’t remember how many times I’ve made these delightful treats, but each time, they vanish within moments at gatherings. There’s just something magical about bite-sized desserts that not only taste amazing but also look gorgeous on the table. If you’re looking to wow your guests this holiday, you’re in for a treat. Trust me, these desserts will be the star of your festive spread!
Why You’ll Love This Christmas Finger Desserts
- Easy to Make: These desserts come together quickly, making them perfect for busy holiday schedules.
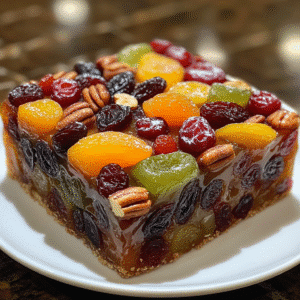
- Versatile Options: Whether you crave chocolate, fruit, or spice, there’s a finger dessert for everyone.
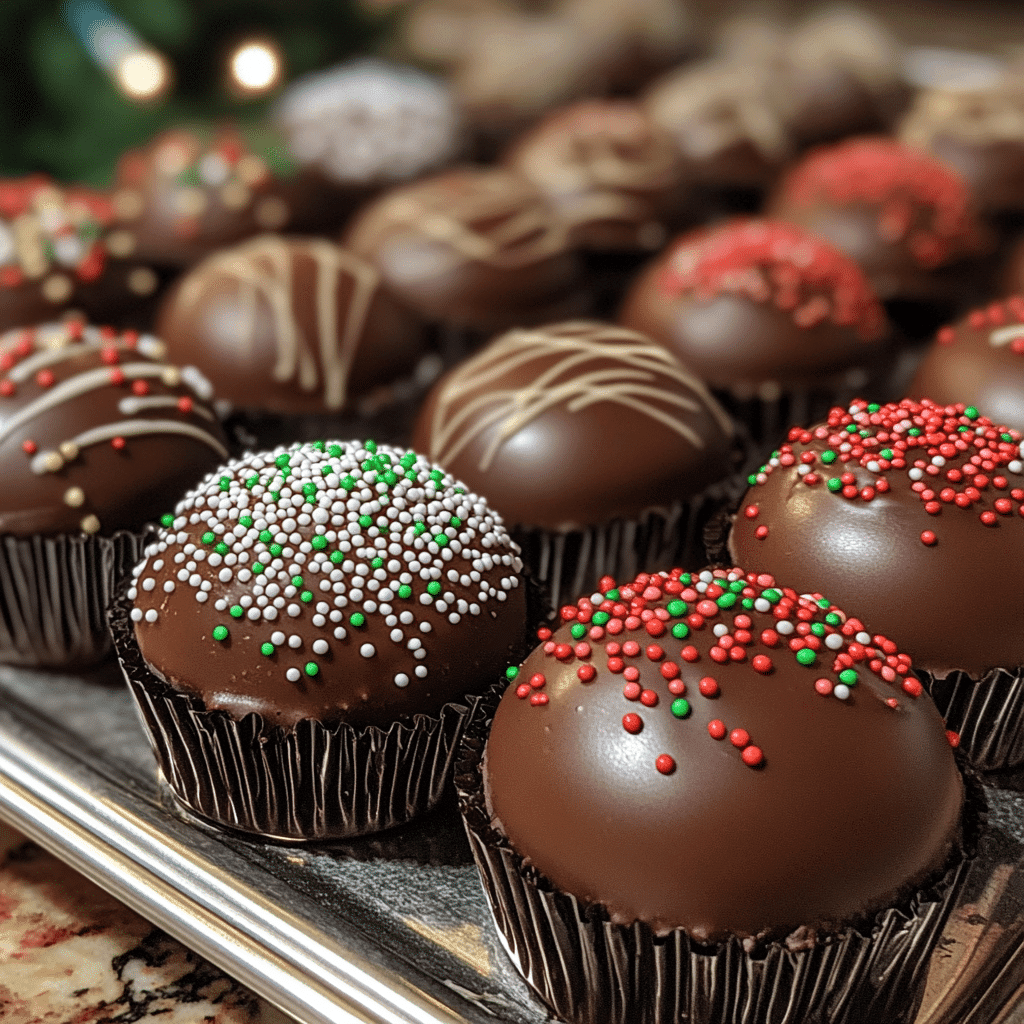
- Visually Stunning: Their small size and beautiful presentation will impress your guests and elevate your dessert table.
- Make-Ahead Convenience: Many of these treats can be prepared in advance, allowing you to enjoy the festivities without stress.
- Perfect for Sharing: These bite-sized delights are ideal for holiday parties and gatherings, making them easy to pass around.
The Secret to Perfect Christmas Finger Desserts
The secret ingredient that makes these Christmas finger desserts truly shine is using high-quality, seasonal flavors. Fresh spices like nutmeg and cinnamon, along with rich chocolate and vibrant fruits, create a flavor profile that screams holiday cheer. I always recommend using real vanilla extract and fresh zest from citrus fruits to elevate the taste!
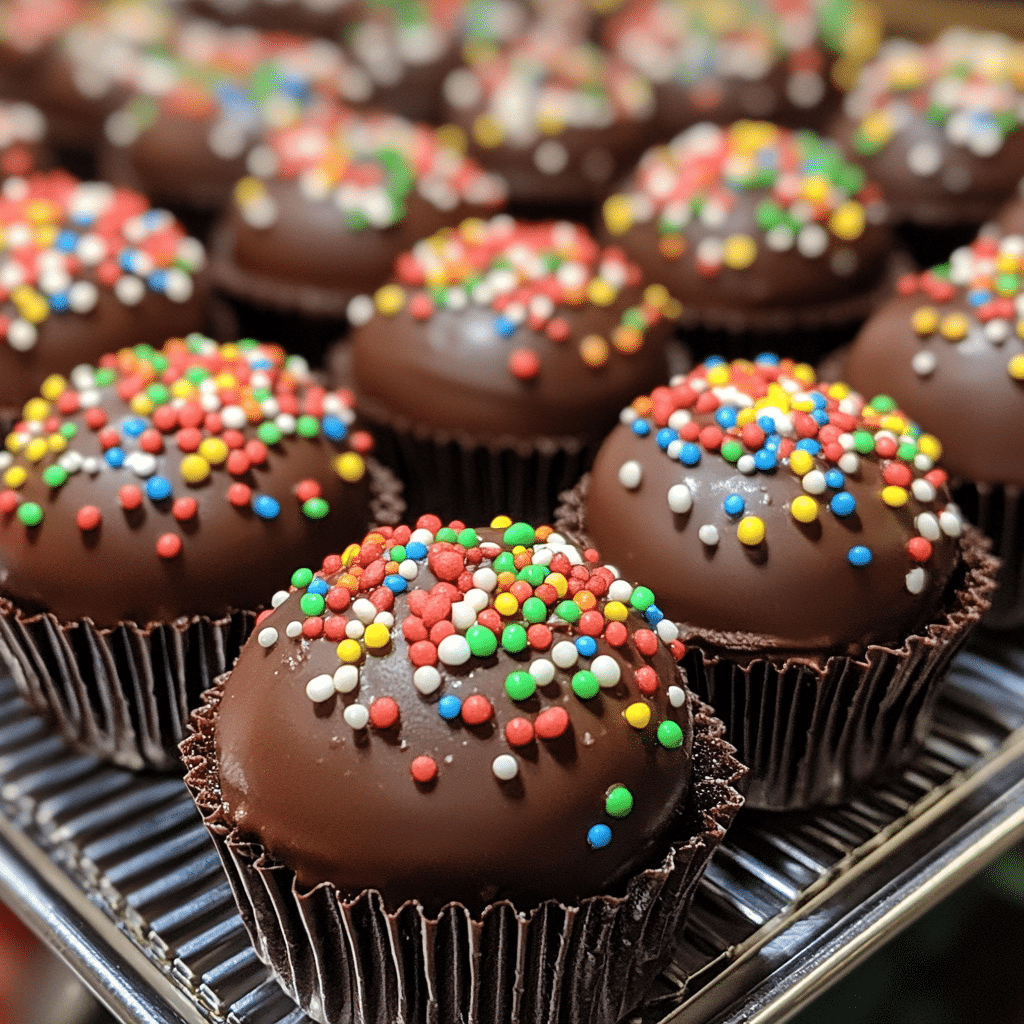
Trust me when I say that the presentation matters—garnishing with powdered sugar, festive sprinkles, or edible glitter can take your desserts from good to absolutely stunning! Don’t be afraid to experiment; this is about having fun and creating something beautiful that tastes as good as it looks.
Rave Reviews from Friends and Followers
“These Christmas finger desserts were the hit of our holiday party! Everyone kept asking for the recipe.” – Sarah M.
“I made these for a family gathering, and they disappeared within minutes. Absolutely delicious!” – Tom J.
“I loved how easy these were to make! They looked so fancy on the table.” – Emily R.
Creative Variations to Try
- Chocolate Peppermint Bark Bites: Layer rich chocolate with crushed peppermint for a festive twist.
- Spiced Apple Mini Tarts: Fill mini tart shells with spiced apple filling for a cozy flavor.
- Gingerbread Cookie Pops: Make gingerbread cookies on a stick and dip them in chocolate.
- Cranberry Orange Cheesecake Cups: Use a creamy cheesecake mix layered with cranberry sauce for a refreshing treat.
- Bonus Tip: Try adding a splash of flavored liqueur to your desserts for an adult twist—think Amaretto or Kahlua!
FAQs – All Your Questions Answered!
Can I make these desserts ahead of time?
Absolutely! Many finger desserts can be made a day or two in advance. Just store them in an airtight container in the fridge.
What’s the best way to store leftovers?
Keep any leftovers in an airtight container at room temperature for up to two days or in the refrigerator for up to a week.
Can I substitute ingredients?
Yes! You can often substitute ingredients based on your dietary needs or preferences—like using gluten-free flour or dairy-free chocolate.
How can I make these desserts look more festive?
Garnishing with seasonal sprinkles, edible glitter, or fresh herbs can add a lovely festive touch!
Storage/Serving Tips
- Store in an airtight container to maintain freshness.
- Many desserts can be frozen for longer shelf life; just thaw before serving.
- Serve on decorative platters for an appealing display.
- Pair with holiday beverages like mulled wine or hot cocoa for a delightful experience.
Perfect Occasions for Christmas Finger Desserts
- Holiday parties with friends and family
- Office celebrations or potlucks
- Cookie exchanges or baking contests
- Festive brunches or tea parties
- New Year’s Eve celebrations
- Winter weddings or special events
The Complete Recipe
Thank you for joining me on this delicious journey! Now, let’s dive into the recipe that will make your holiday celebrations even sweeter.
Christmas Finger Desserts
Ingredients
- 1 cup all-purpose flour
- 1/2 cup unsweetened cocoa powder
- 1 cup granulated sugar
- 1/2 cup unsalted butter, softened
- 2 large eggs
- 1 tsp vanilla extract
- 1/2 tsp baking powder
- 1/4 tsp salt
- 1/2 cup chocolate chips (optional)
Tip: Ensure your ingredients are at room temperature for the best texture and flavor.
Extend ingredients section: Consider adding chopped nuts for crunch or swapping out vanilla for almond extract for a different flavor profile. Each ingredient plays a crucial role in creating that perfect balance of flavor and texture, so choose what you love!
Step-by-Step Instructions
Step 1: Preheat Your Oven
First, preheat your oven to 350°F (175°C). This step is crucial for ensuring your desserts rise perfectly and bake evenly. While the oven heats, you can prepare your batter.
Step 2: Mix the Dry Ingredients
In a bowl, whisk together the flour, cocoa powder, baking powder, and salt. This ensures that the leavening agent is evenly distributed throughout the mixture, making your desserts light and fluffy.
Step 3: Cream the Butter and Sugar
In a separate mixing bowl, cream together the softened butter and granulated sugar until light and fluffy—about 3-5 minutes. This step adds air into the mixture, making your desserts tender.
Step 4: Add Eggs and Vanilla
Beat in the eggs one at a time, mixing well after each addition. Stir in the vanilla extract. This will help bind everything together and add a lovely flavor.
Step 5: Combine Wet and Dry Ingredients
Gradually add the dry ingredients to the wet mixture, mixing until just combined. Be careful not to overmix, as it can lead to tougher desserts.
Step 6: Fold in Chocolate Chips
If you’re using chocolate chips, fold them in gently at this point. They add a delightful burst of chocolate in every bite!
Step 7: Bake!
Pour the batter into a greased mini muffin tin or use mini tart pans, filling each about 2/3 full. Bake for 12-15 minutes or until a toothpick inserted comes out clean. The aroma will fill your kitchen—it’s heavenly!
Step 8: Cool and Decorate
Once baked, let the desserts cool in the pan for about 5 minutes before transferring them to a wire rack. Once cool, dust with powdered sugar or decorate with your favorite frosting.
Nutrition info (per dessert): Approx. 100 calories, 4g fat, 15g carbohydrates, and 1g protein.
Final Thoughts
There you have it! These Christmas finger desserts are not only easy to make but will also bring joy to your holiday celebrations. The best part? They’re versatile and can be customized in so many ways! I encourage you to give them a try—your friends and family will be raving about them for years to come. Happy