Indulge in a Dessert Everyone Will Love
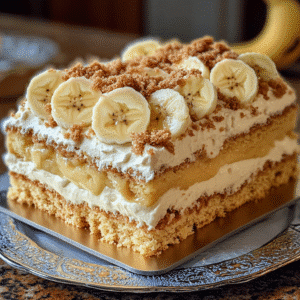
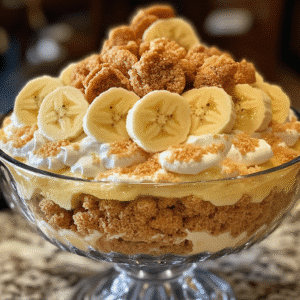
Banana Pudding Cups are the ultimate dessert that combines nostalgia with simplicity. Whether you’re celebrating a birthday, hosting a picnic, or just enjoying a sweet treat after dinner, these delightful cups bring joy to any occasion. With layers of creamy pudding, fresh bananas, and crunchy vanilla wafers, they provide the perfect balance of flavors and textures. Plus, they are incredibly easy to make, requiring no baking at all. Your friends and family will be impressed by your culinary skills, even if it only took you a few minutes to whip them up!
Why You’ll Love This Recipe
- Quick and Easy: With minimal prep time, these cups are perfect for last-minute gatherings.
- No-Bake Delight: Say goodbye to oven time! These treats come together without any baking.
- Customizable: You can easily modify the recipe to suit your taste or dietary preferences.
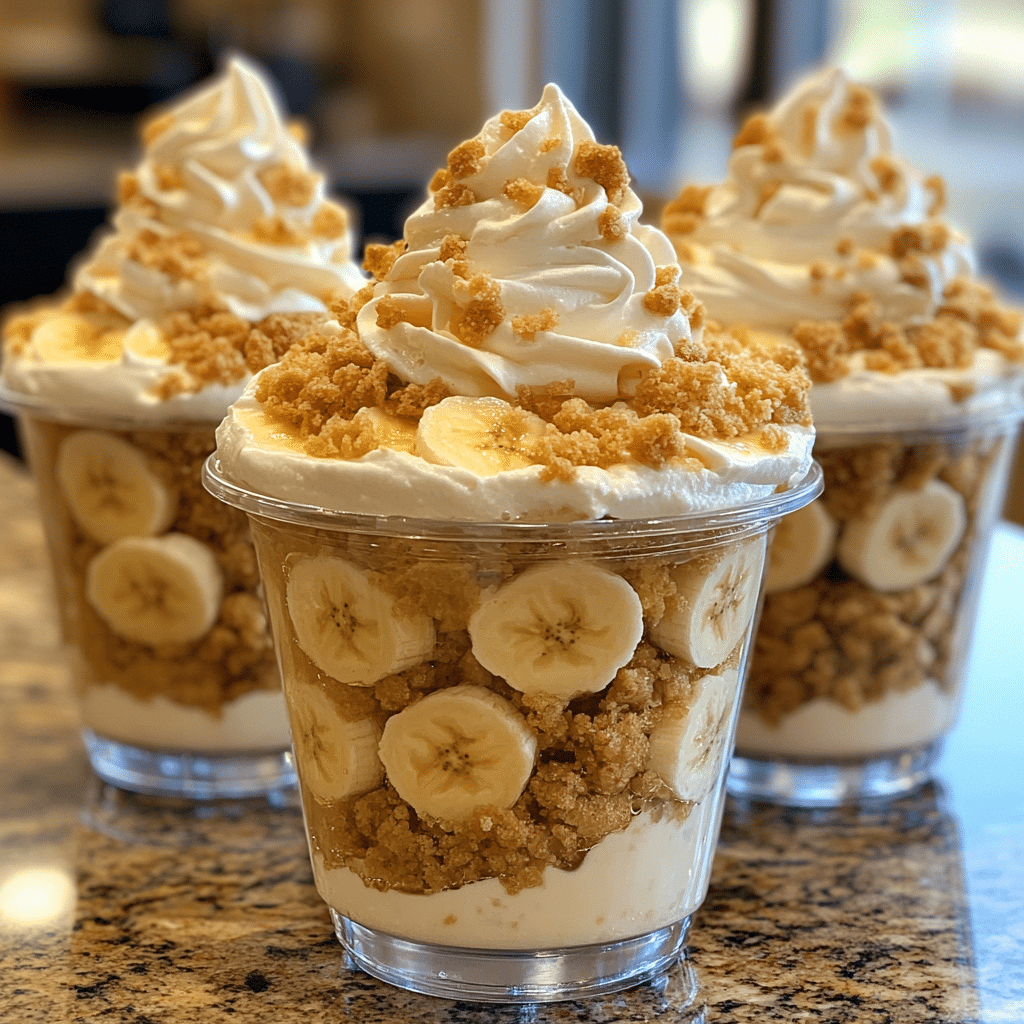
- Visually Appealing: They look gorgeous in clear cups, making them a perfect centerpiece for your dessert table.
- Kid-Friendly: A hit with both kids and adults, these banana pudding cups are a family favorite.
- Perfect for Any Occasion: Whether it’s a picnic, party, or just a casual get-together, they are a crowd-pleaser.
Ingredients You’ll Need
For the Pudding Base
- 2 cups of milk (whole or 2% for creaminess)
- 1 box (3.4 oz) of instant vanilla pudding mix
- 1 cup of whipped topping (Cool Whip or homemade)
For the Layers
- 3-4 ripe bananas, sliced
- 1 box of vanilla wafers
Step-by-Step Instructions
- Prepare the Pudding: In a mixing bowl, whisk together the milk and instant vanilla pudding mix until smooth. Allow it to sit for about 5 minutes to thicken.
- Fold in the Whipped Topping: Gently fold the whipped topping into the pudding mixture until fully incorporated. This will give your pudding a light and fluffy texture.
- Layer the Cups: In clear cups or dessert dishes, start by placing a layer of vanilla wafers at the bottom.
- Add Bananas: Place a layer of sliced bananas over the wafers, followed by a generous scoop of the pudding mixture.
- Repeat the Layers: Continue layering with wafers, bananas, and pudding until the cups are filled, finishing with pudding on top.
- Chill: Refrigerate the assembled cups for at least 1 hour before serving to allow the flavors to meld and the wafers to soften slightly.
Serving Suggestions
These Banana Pudding Cups are delightful on their own, but you can elevate your serving experience with a few simple ideas:
- Top each cup with extra whipped topping and a sprinkle of crushed vanilla wafers for added texture.
- Serve with a side of fresh berries for a refreshing contrast to the creamy pudding.
- Pair with iced tea or lemonade for a delightful summer dessert.
- Consider placing a few mint leaves on top for a touch of color and freshness.
Tips for Success
To ensure your Banana Pudding Cups turn out perfectly every time, keep these tips in mind:
- Use Ripe Bananas: Choose bananas that are ripe but not overly mushy for the best flavor and texture.
- Don’t Skip the Chilling: Allowing the cups to chill helps set the pudding and melds the flavors together beautifully.
- Pre-slice Bananas: Slice your bananas just before layering to prevent browning, or toss them in a bit of lemon juice for preservation.
- Experiment with Flavor: Try adding a splash of vanilla extract or a hint of cinnamon to the pudding for a unique twist.
- Storage: Keep any leftovers covered in the refrigerator for up to 2 days, but note that the wafers may become soggy.
Final Thoughts
Banana Pudding Cups are more than just a dessert; they are a delightful experience that brings smiles to faces young and old. With their creamy texture, rich banana flavor, and satisfying crunch, these cups are a guaranteed hit at any gathering. Whether you’re a seasoned baker or just starting in the kitchen, this recipe is a must-try. Elevate your dessert game today and make these irresistibly easy Banana Pudding Cups a staple in your recipe collection!