Oh my goodness, have I got a treat for you! If you’ve ever dreamed of waking up to the smell of warm, fluffy waffles wafting through your kitchen, then you absolutely need to try my homemade buttermilk Belgian waffles. I can’t even count how many times I’ve made these delightful treats for friends and family. Every time, they’re met with rave reviews and happy faces, and trust me, you’re going to want to add this recipe to your breakfast rotation immediately!
Why You’ll Love This Homemade Buttermilk Belgian Waffles
- Fluffy Perfection: These waffles have a light and airy texture that makes them the ultimate breakfast indulgence.
- Quick and Easy: With just a few simple ingredients and minimal prep time, you can whip these up in no time!
- Customizable: Feel free to experiment with different flavors or toppings, making each batch uniquely yours.
- Make-Ahead Convenience: You can prepare the batter ahead of time or freeze cooked waffles for a quick breakfast option later.
- Impressive Presentation: Their golden-brown crispiness and fluffy interior make for a visually stunning dish that’s perfect for entertaining.
The Secret to Perfect Homemade Buttermilk Belgian Waffles
The magic ingredient that truly elevates these homemade buttermilk Belgian waffles is, you guessed it, buttermilk! This creamy ingredient not only adds a rich flavor but also reacts with the baking soda to create those delightful bubbles that make the waffles light and fluffy. Here’s a little insider tip: let the batter rest for about 5-10 minutes before cooking. This helps the gluten relax and results in an even fluffier waffle. Trust me, these small tweaks will make a world of difference!
Rave Reviews from Friends and Followers
“These waffles are the best I’ve ever had! The texture is unbelievably fluffy, and I love how easy they are to make!” – Sarah M.
“I made these for a brunch, and they were a total hit! Everyone kept asking for the recipe.” – Jake R.
“I’m officially obsessed! The buttermilk adds such a wonderful depth of flavor. I can’t stop making them!” – Emma L.
Creative Variations to Try
- Chocolate Chip Waffles: Fold in some chocolate chips for a sweet twist that kids will adore.
- Cinnamon Roll Waffles: Add cinnamon and sugar to the batter for a delightful cinnamon roll-inspired flavor.
- Blueberry Bliss: Toss in fresh or frozen blueberries for a fruity burst.
- Banana Nut: Mash ripe bananas into the batter and sprinkle some walnuts for a deliciously nutty flavor.
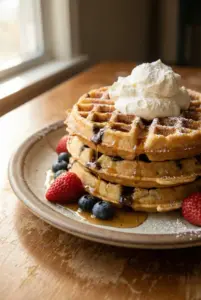
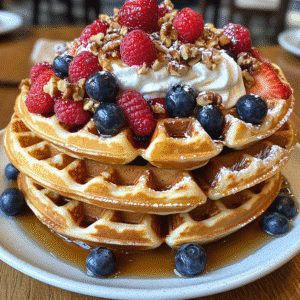
Bonus: For an extra indulgent treat, top your waffles with whipped cream and fresh fruits!
FAQs – All Your Questions Answered!
Can I use regular milk instead of buttermilk? Yes, but for the best results, add a tablespoon of vinegar or lemon juice to regular milk and let it sit for 5 minutes to mimic buttermilk.
How do I store leftover waffles? Once cooled, place them in an airtight container in the fridge for up to 3 days or freeze them for up to 3 months.
Can I double the recipe? Absolutely! Just make sure you have a large enough mixing bowl and waffle maker.
What should I do if my waffles stick to the waffle maker? Ensure your waffle maker is fully preheated and greased with non-stick spray or butter before pouring in the batter.
Storage/Serving Tips
- Store cooled waffles in an airtight container in the fridge for up to 3 days.
- Freeze waffles by placing them in a single layer on a baking sheet, then transferring them to a freezer bag for up to 3 months.
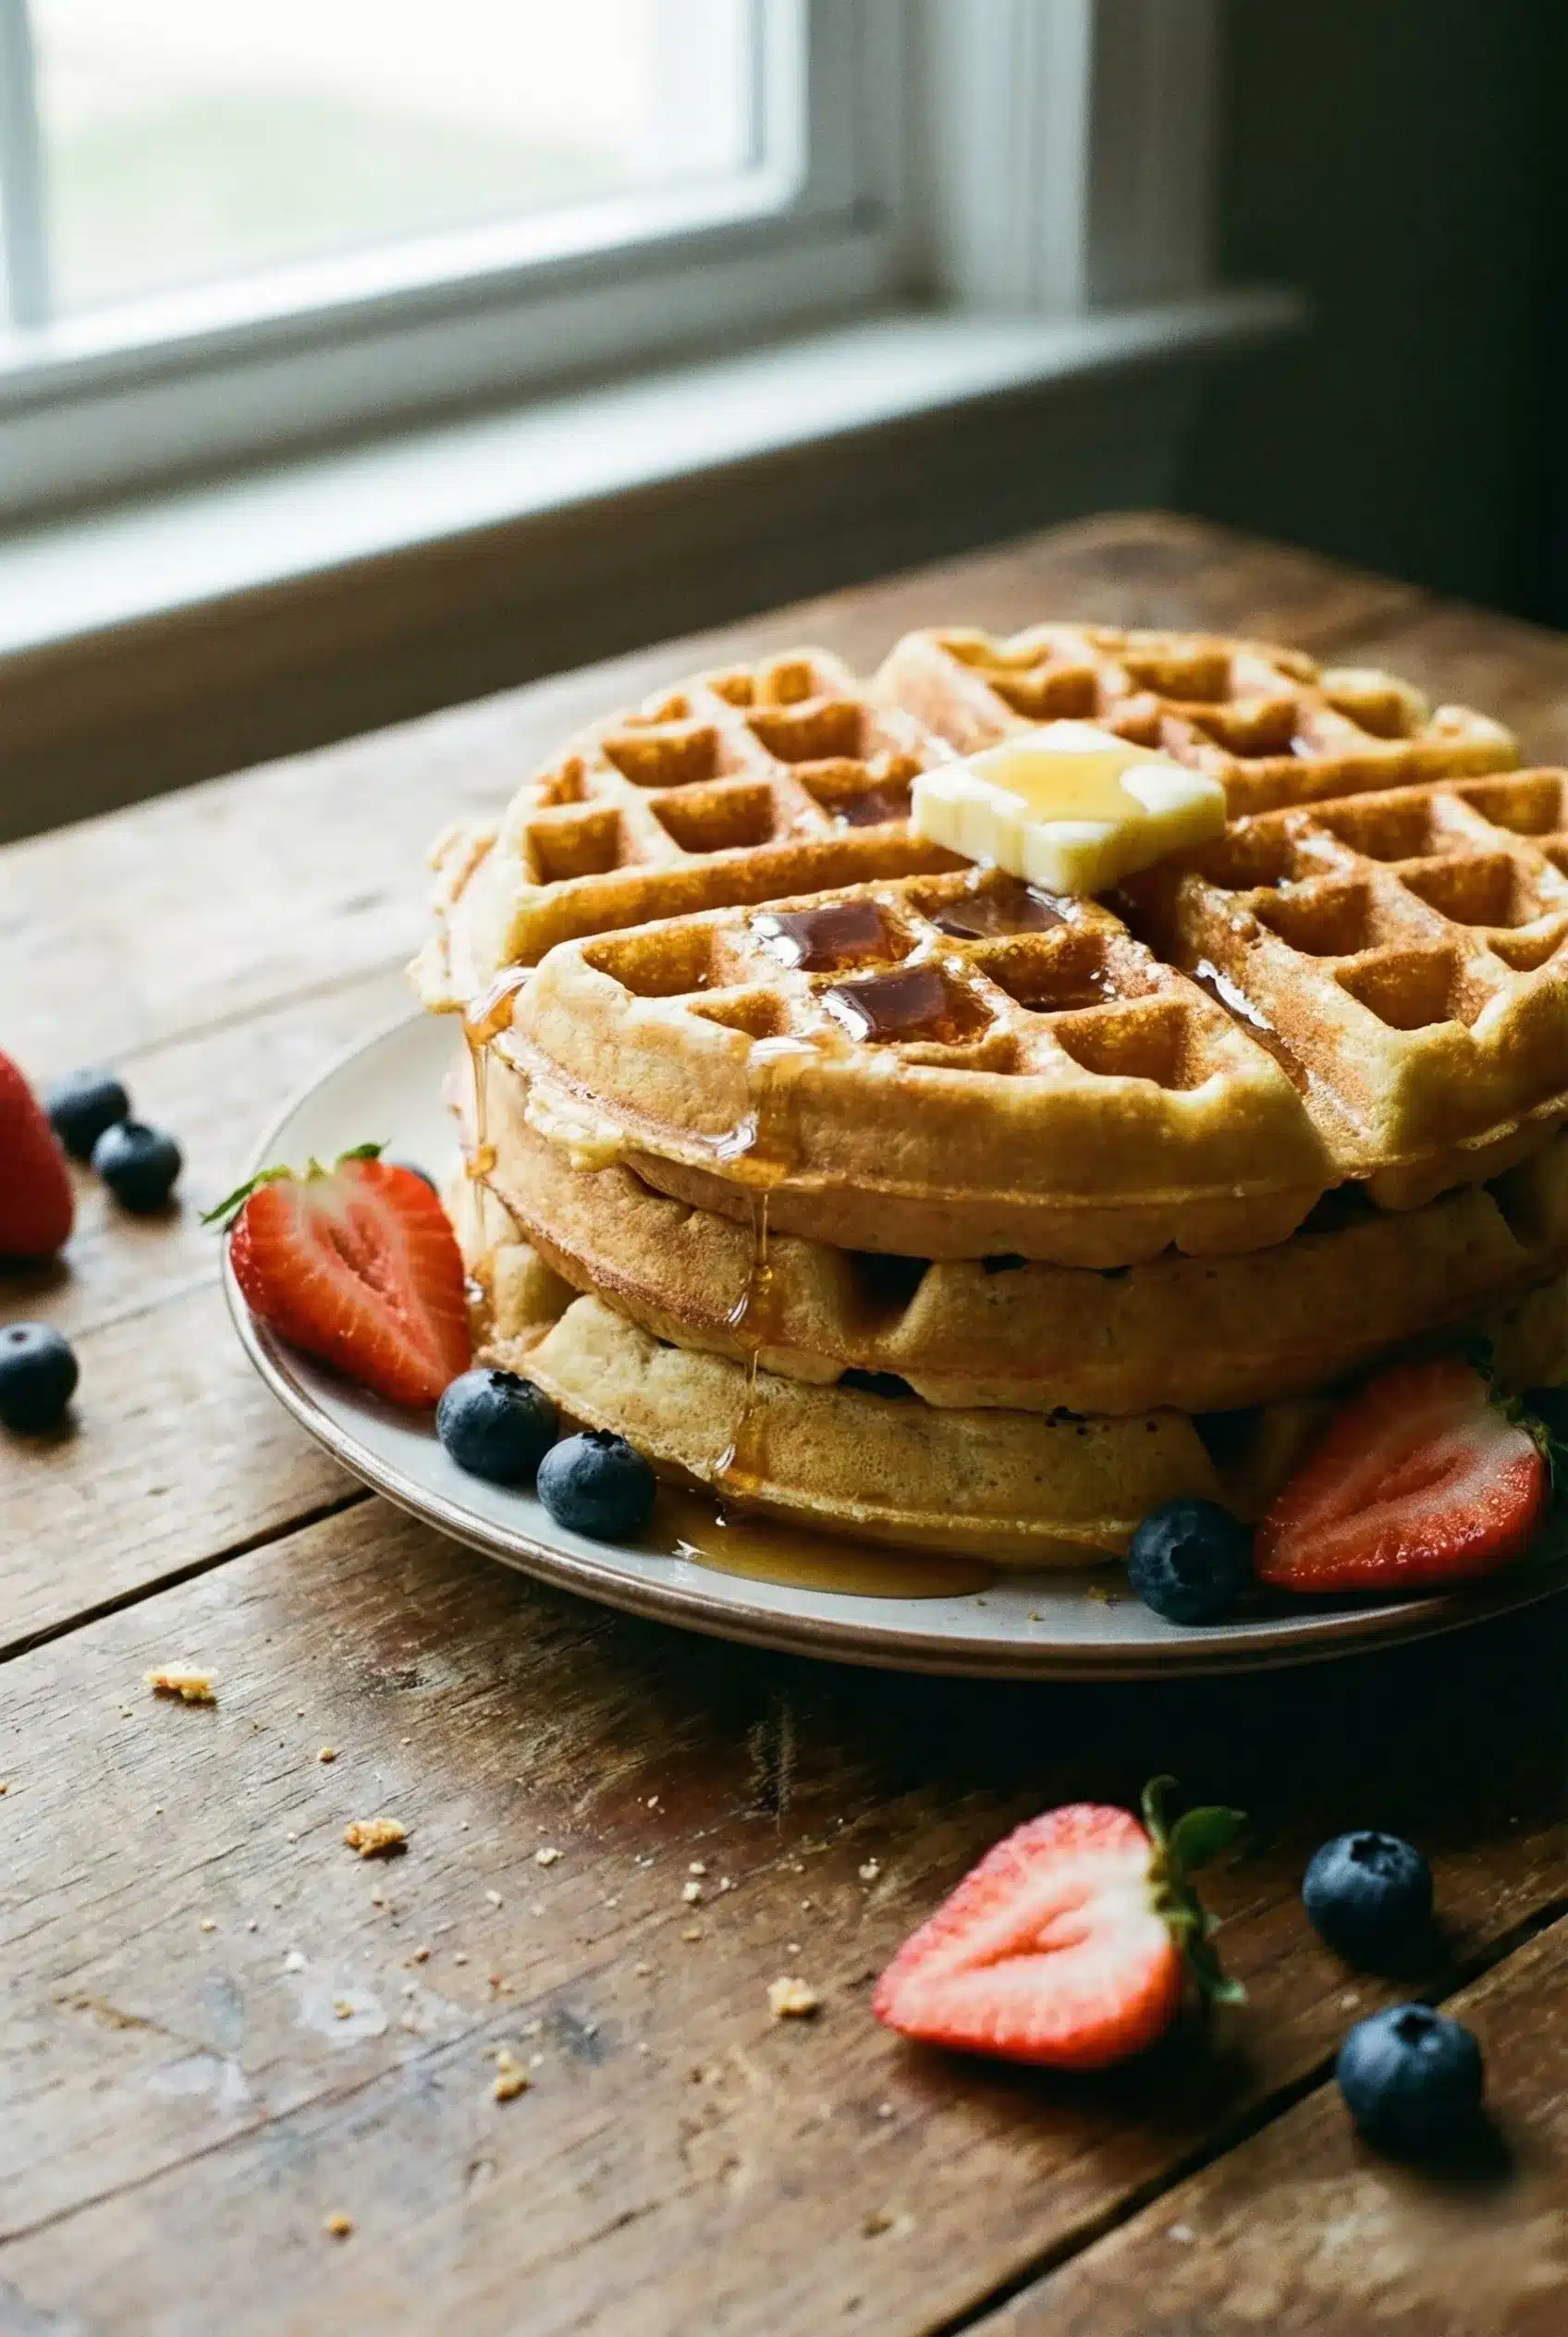
- Serve warm with a drizzle of maple syrup, fresh fruit, or a dollop of whipped cream for an extra special touch.
Perfect Occasions for Homemade Buttermilk Belgian Waffles
- Weekend brunch with friends and family.
- Celebrating a special occasion like birthdays or holidays.
- A cozy breakfast in bed for your loved one.
- Post-pajama party breakfast for kids.
- As a delightful treat during a lazy Sunday morning.
The Complete Recipe
Thank you for sticking with me through all the waffle excitement! Now, let’s get to the recipe so you can whip up your own batch of homemade buttermilk Belgian waffles.
Homemade Buttermilk Belgian Waffles
Ingredients
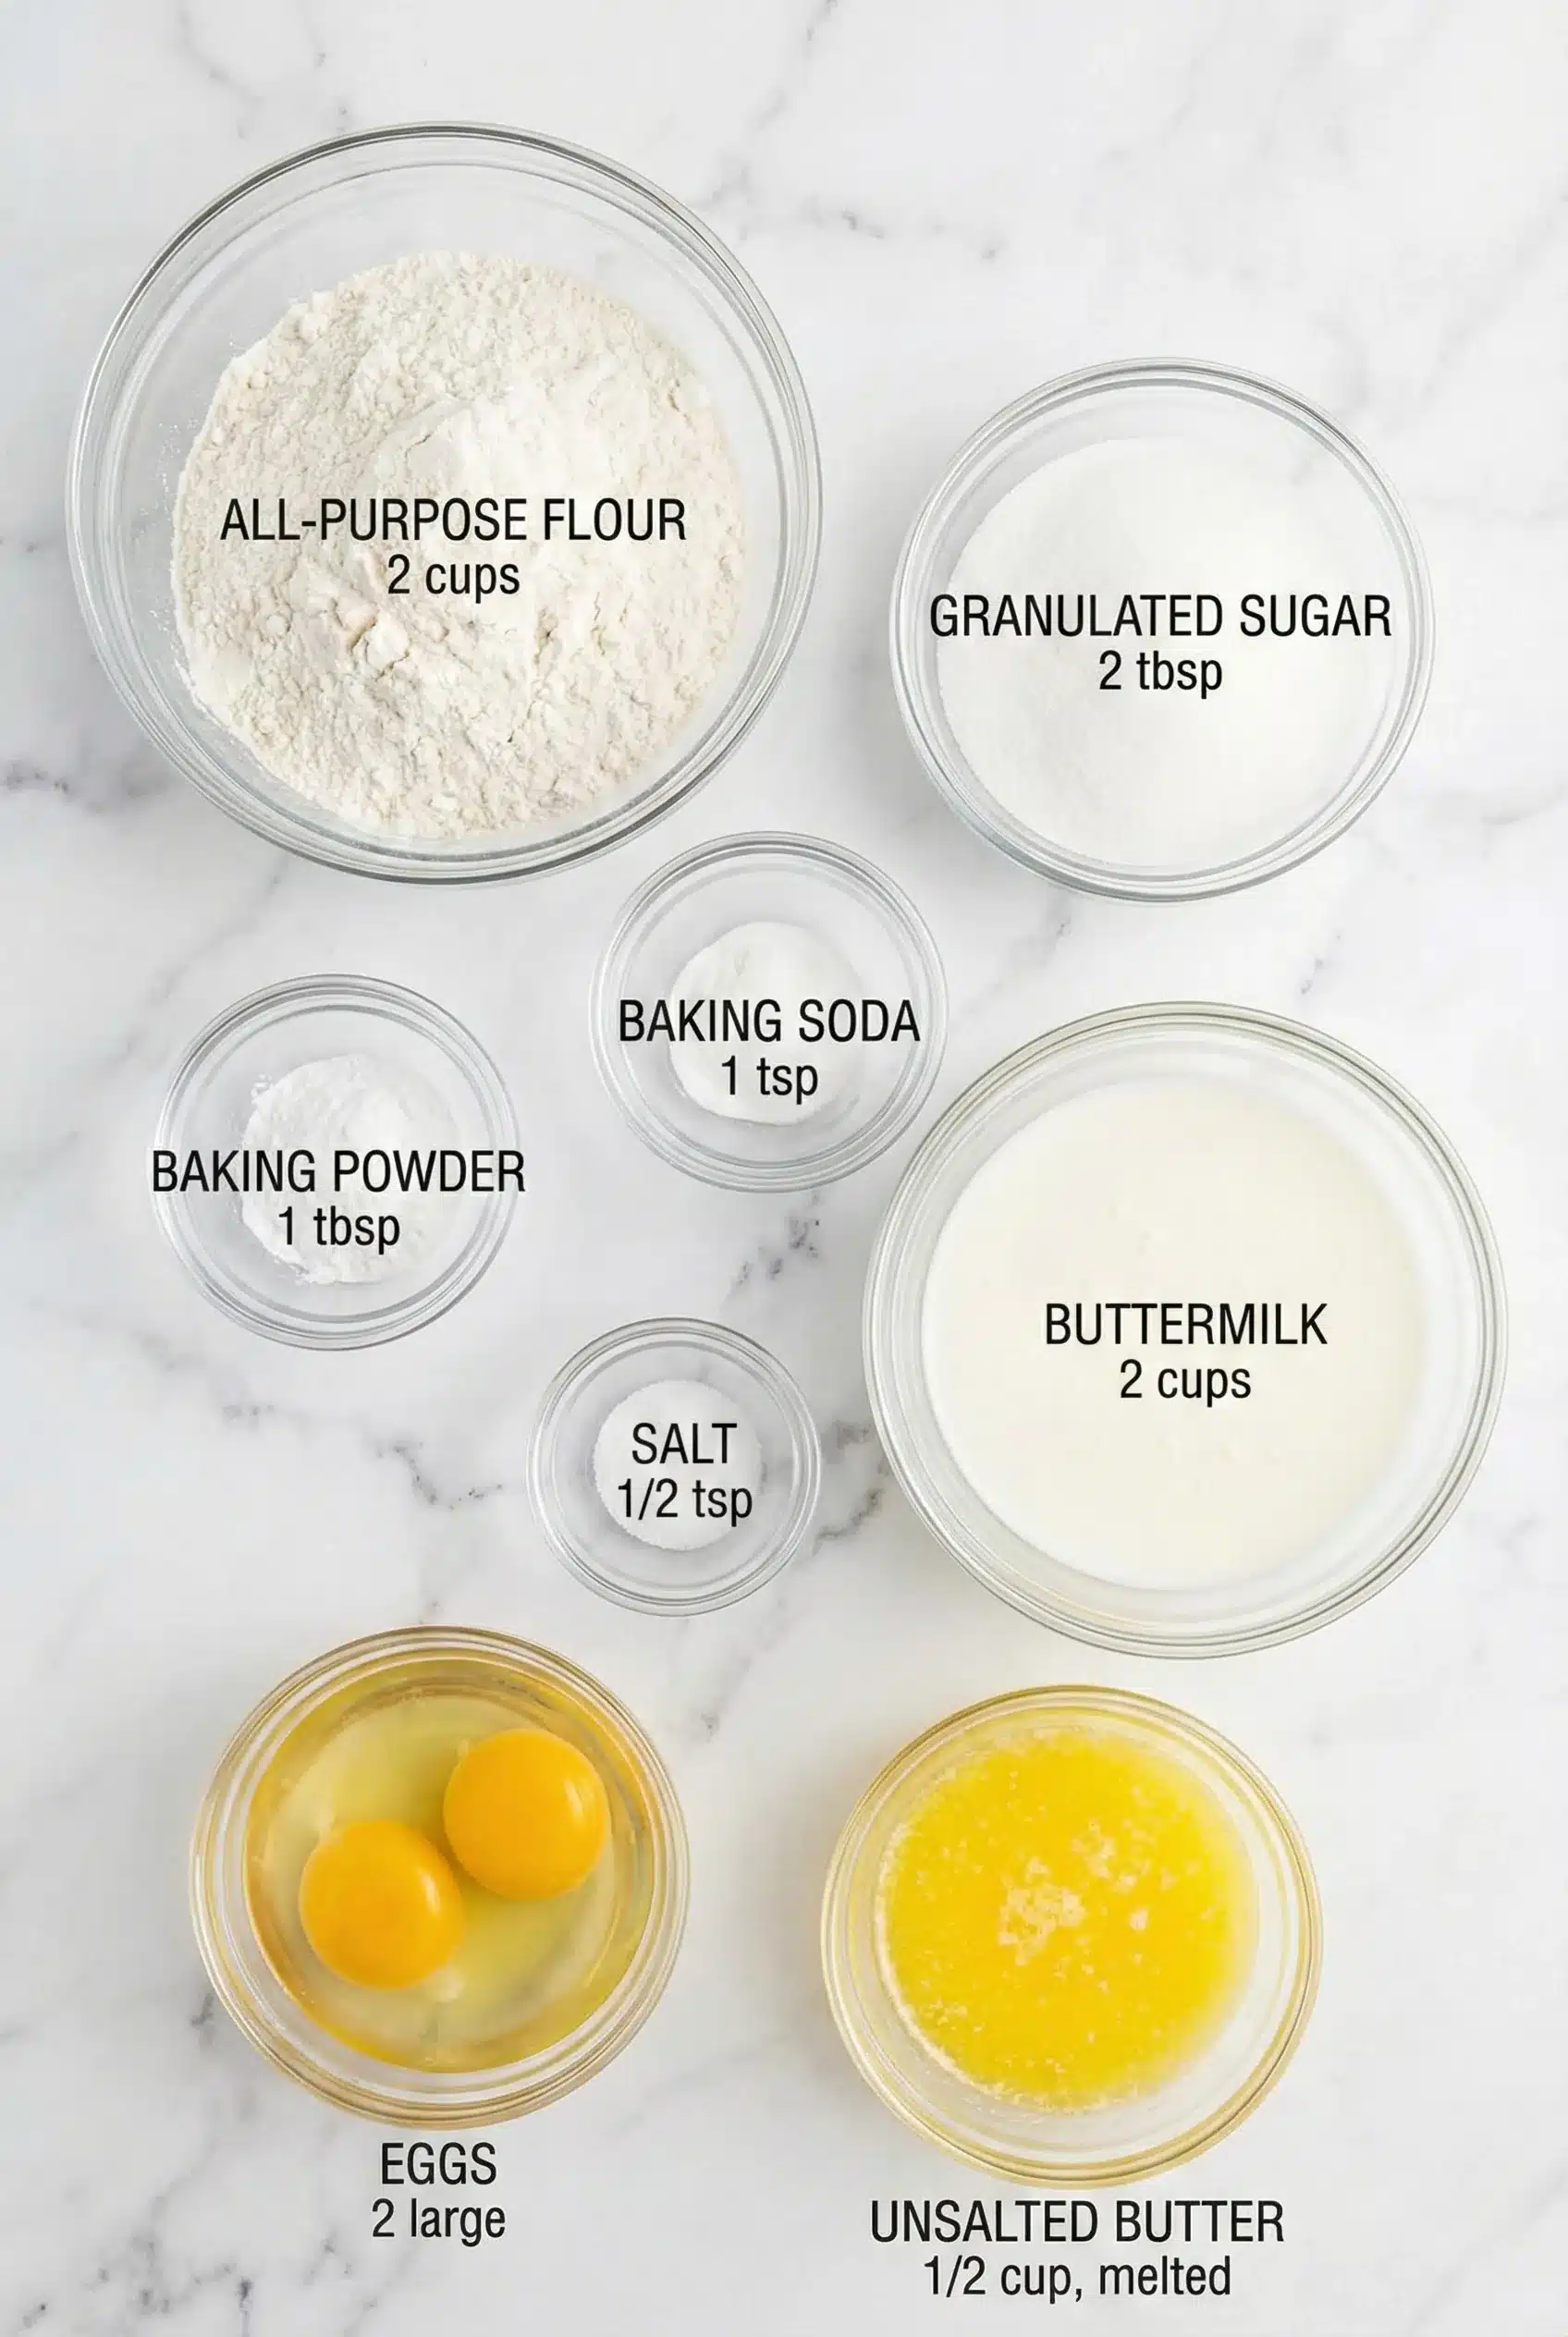
- 2 cups all-purpose flour
- 2 tablespoons sugar
- 1 tablespoon baking powder
- 1 teaspoon baking soda
- 1/2 teaspoon salt
- 2 large eggs
- 2 cups buttermilk
- 1/2 cup unsalted butter, melted
- 1 teaspoon vanilla extract
Tip: For a richer flavor, use whole milk or add a tablespoon of sour cream to the buttermilk mixture.
Extend ingredients section: You can also substitute half of the all-purpose flour with whole wheat flour for added nutrition, or use almond milk for a dairy-free option. Each ingredient plays a crucial role in achieving that perfect waffle texture and flavor.
Step-by-Step Instructions
Step 1: Preheat the Waffle Maker
Start by preheating your waffle maker according to the manufacturer’s instructions. This is crucial for that perfect, crispy exterior!
Step 2: Mix Dry Ingredients
In a large mixing bowl, whisk together the flour, sugar, baking powder, baking soda, and salt until well combined. This ensures even distribution of the leavening agents, which is key for fluffy waffles.
Step 3: Blend Wet Ingredients
In another bowl, beat the eggs and then add buttermilk, melted butter, and vanilla extract. Whisk until smooth and creamy.
Step 4: Combine Mixtures
Pour the wet ingredients into the dry ingredients, stirring gently until just combined. Don’t overmix; a few lumps are perfectly fine!
Step 5: Cook the Waffles
Lightly grease the preheated waffle maker with non-stick spray or butter. Pour the recommended amount of batter onto the center of the waffle iron (usually about 1 cup, but check your manual). Close the lid and cook until the waffles are golden brown and crispy. This usually takes about 4-5 minutes, but timing may vary.
Step 6: Serve Warm
Carefully remove the waffles and serve them warm with your favorite toppings. Maple syrup, fresh fruit, or whipped cream are all great choices!
Nutrition Info: Each waffle contains approximately 200 calories, 8g fat, 28g carbohydrates, and 4g protein. Adjust portion sizes based on your toppings!

Final Thoughts
There you have it—my homemade buttermilk Belgian waffles that are sure to become a beloved breakfast staple in your home! The combination of a crispy exterior and fluffy interior is an absolute game-changer. I truly can’t wait for you to try this recipe and experience the joy that comes with every bite. So gather your ingredients, fire up that waffle maker, and let the deliciousness begin!
Homemade Buttermilk Belgian Waffles
-
Total Time:
40 mins -
Yield:
4 servings
Enjoy quick and simple homemade buttermilk Belgian waffles that promise a cozy breakfast experience. Perfect for any morning treat!
Ingredients
- • 2 cups all-purpose flour
- • 2 tablespoons sugar
- • 1 tablespoon baking powder
- • 1 teaspoon baking soda
- • 1/2 teaspoon salt
- • 2 large eggs
- • 2 cups buttermilk
- • 1/2 cup unsalted butter, melted
- • 1 teaspoon vanilla extract
Instructions
- Preheat the Waffle Maker according to the manufacturer’s instructions.
- In a large mixing bowl, whisk together the flour, sugar, baking powder, baking soda, and salt until well combined.
- In another bowl, beat the eggs and then add buttermilk, melted butter, and vanilla extract. Whisk until smooth and creamy.
- Pour the wet ingredients into the dry ingredients, stirring gently until just combined.
- Lightly grease the preheated waffle maker with non-stick spray or butter. Pour the recommended amount of batter onto the center of the waffle iron.
- Close the lid and cook until the waffles are golden brown and crispy, usually about 4-5 minutes.
- Carefully remove the waffles and serve them warm with your favorite toppings.
Notes
Storage: Store leftovers in an airtight container in the fridge for up to 3 days.
- Prep Time: 10 mins
- Cook Time: 30 mins
- Category: Breakfast
- Cuisine: Belgian
- Method: Oven