I remember the first time I made Red Velvet Cheesecake. It was for a friend’s birthday, and I wanted to impress everyone with a dessert that was both beautiful and delicious. Little did I know, this luscious creation would become my go-to recipe for any celebration! I’ve made this cheesecake countless times since, and every single time, I get rave reviews. Trust me, once you try this dessert, you’ll understand why it has a special place in my heart and in the hearts of my friends and family!
Why You’ll Love This Red Velvet Cheesecake
- Decadent Flavor: The rich combination of cocoa and cream cheese creates a flavor explosion that you simply can’t resist.
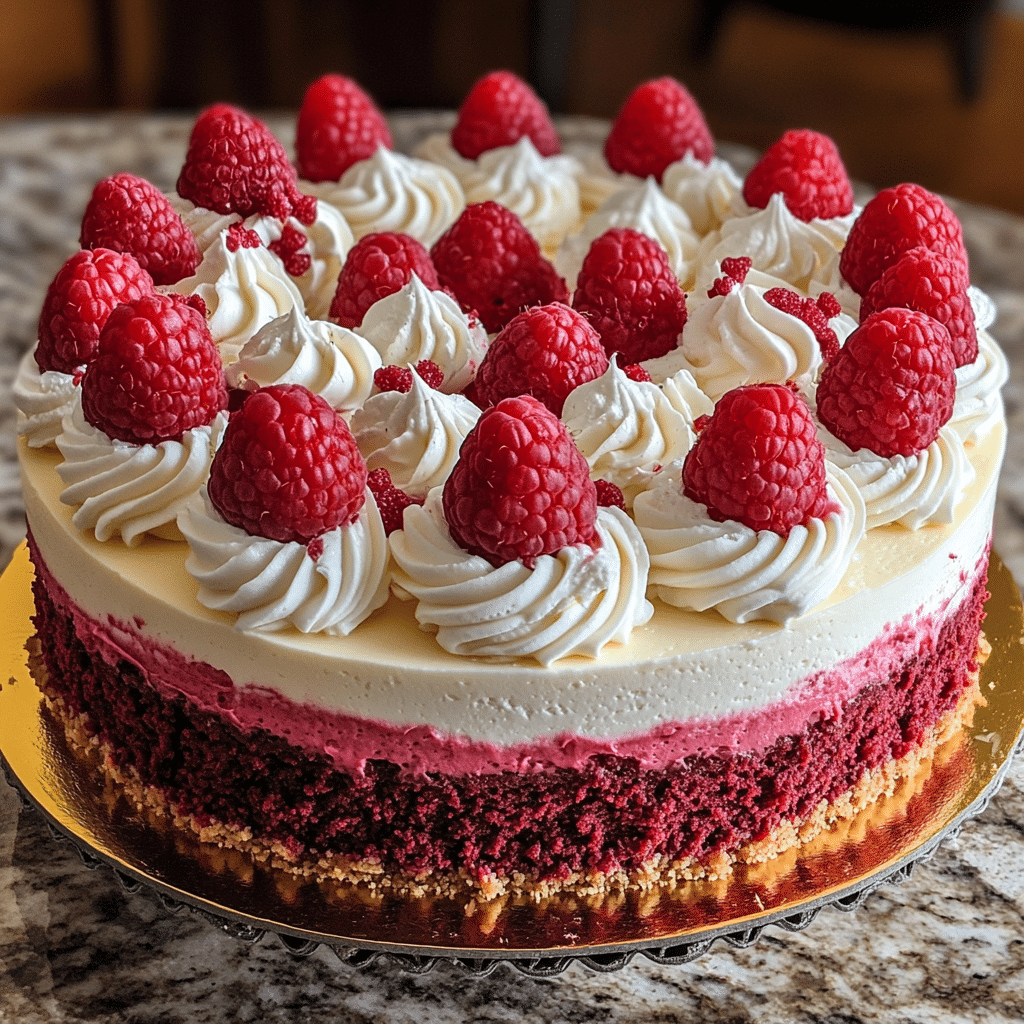
- Stunning Presentation: Its vibrant red color and creamy swirls make it a show-stopper at any gathering.
- Easy to Make: With straightforward steps, even novice bakers can nail this recipe!
- Versatile Dessert: Perfect for birthdays, holidays, or just because—you’ll want to make it again and again!
- Make-Ahead Convenience: You can prepare it a day in advance, allowing the flavors to meld beautifully.
The Secret to Perfect Red Velvet Cheesecake
The key to achieving the perfect Red Velvet Cheesecake lies in the balance of ingredients and the technique used. The buttermilk adds moisture and tenderness, while the cocoa powder gives that signature red velvet flavor. But here’s the insider tip: make sure to mix the cream cheese until it’s super smooth before adding in the sugar and eggs. This ensures no lumps, which is crucial for that creamy texture we all love. Trust me, following this simple trick will make you look like a pro!
Rave Reviews from Friends and Followers
“This cheesecake was the highlight of my birthday! Everyone wanted the recipe. It’s rich and creamy, and the color is just gorgeous!” – Sarah T.
“I made this for a family gathering, and it was a total hit! My kids couldn’t get enough. Thank you for this amazing recipe!” – Mark G.
“I was intimidated at first, but the instructions were so clear and easy to follow. This cheesecake is now my signature dish!” – Laura W.
Creative Variations to Try
- Chocolate Chip Red Velvet Cheesecake: Add mini chocolate chips to the batter for a delightful surprise.
- Vanilla Bean Swirls: Incorporate vanilla bean paste into the cream cheese layer for an extra flavor kick.
- Caramel Drizzle: Top your cheesecake with homemade caramel sauce for a decadent twist.
- Nutty Crunch: Add crushed pecans or walnuts to the crust for some texture.
Bonus: If you want a lighter version, try using Greek yogurt instead of cream cheese for a tangy twist!
FAQs – All Your Questions Answered!
Can I use regular milk instead of buttermilk? Yes, but for the best flavor, try adding a tablespoon of vinegar or lemon juice to regular milk and let it sit for about 5 minutes to sour it.
How long can I store the cheesecake? It can be stored in the refrigerator for up to 5 days, covered tightly to keep it fresh.
Can I freeze the cheesecake? Absolutely! Wrap it well and freeze for up to 2 months. Just make sure to thaw it overnight in the fridge before serving.
What if I don’t have a springform pan? You can use a regular cake pan, but be careful when removing it. Line the bottom with parchment paper for easier lifting.
How do I know when the cheesecake is done? The edges should be set, and the center will slightly jiggle when you shake the pan. It will continue to firm up as it cools.
Storage/Serving Tips
- Store the cheesecake in the fridge in an airtight container.
- For best taste, serve at room temperature. Let it sit out for about 30 minutes before slicing.
- Garnish with fresh berries or a dollop of whipped cream for an extra special touch!
Perfect Occasions for Red Velvet Cheesecake
- Birthday parties for a show-stopping dessert.
- Valentine’s Day for a romantic treat.
- Christmas gatherings with its festive color.
- Baby showers to celebrate new beginnings.
- Potluck dinners where everyone wants to try a slice.
- Anniversaries for that special touch.
- Or simply a cozy night in with loved ones!
The Complete Recipe
Thank you for sticking with me! Now, let’s get to the delicious part: the recipe for this amazing Red Velvet Cheesecake.
Red Velvet Cheesecake
Ingredients
- 1 ½ cups graham cracker crumbs
- ½ cup unsalted butter, melted
- 2 cups cream cheese, softened
- 1 cup granulated sugar
- 3 large eggs
- 1 cup sour cream
- 1 tablespoon vanilla extract
- 2 tablespoons cocoa powder
- ½ cup buttermilk
- 1 tablespoon red food coloring
Tip: Make sure all your ingredients are at room temperature for the smoothest batter.
Extend ingredients section: You can also try using chocolate graham crackers for the crust or add a pinch of salt to enhance the flavors. Each ingredient plays a crucial role in creating the perfect texture and taste, so don’t skip any of them!
Step-by-Step Instructions
Step 1: Prepare the Crust
Preheat your oven to 325°F (160°C). In a bowl, combine the graham cracker crumbs and melted butter until well mixed. Press this mixture firmly into the bottom of a 9-inch springform pan. Bake for 10 minutes, then set aside to cool. This crust is your base for all that creamy goodness!
Step 2: Make the Cream Cheese Mixture
In a large mixing bowl, beat the softened cream cheese until creamy. Add the sugar gradually, mixing until smooth. This step is essential for that luscious texture you’re aiming for—take your time to get it right!
Step 3: Add Eggs and Flavorings
Add the eggs one at a time, mixing well after each addition. Then, mix in the sour cream, vanilla extract, cocoa powder, buttermilk, and red food coloring until fully incorporated. The batter should be velvety and smooth, and the color should be a vibrant red—just as red velvet should be!
Step 4: Bake It Up!
Pour the cream cheese mixture over the cooled crust and smooth the top with a spatula. Bake in the preheated oven for about 55-60 minutes, or until the edges are set, and the center is slightly jiggly. The smell will be utterly intoxicating, filling your kitchen with sweet anticipation!
Step 5: Cool and Chill
Once baked, turn off the oven and crack the door open slightly. Let the cheesecake cool in the oven for about an hour to prevent cracking. After that, refrigerate it for at least 4 hours, but overnight is even better to let those flavors fully develop.
Step 6: Serve and Enjoy!
When you’re ready to serve, carefully remove the sides of the springform pan. Slice with a sharp knife, and if you want to impress, you can garnish with whipped cream or fresh berries. Enjoy every creamy,